There’s a shortage of good bagels in the San Francisco Bay area. There are some places around like Spot and New York bagel (both carried at Berkeley Bowl. The other bagels at Berkeley bowl feel like soft dinner rolls with holes in the middle.) and House of Bagels that serve decent one, but I decided to see if I could tackle the issue myself by baking some on my own. I was also inspired by a talk by Noah Alper, founder of Noah’s Bagels (which no longer use his recipe and he is no longer a part of). This post (and future ones?) will document my bagel-baking experiments.
I found a potentially good recipe and accompanying blog post from the King Arthur Flour folks and went to work.
(Spoiler: the bagels did not turn out as bagels but they still tasted okay. Versions 0.2 and 0.3 were much better)

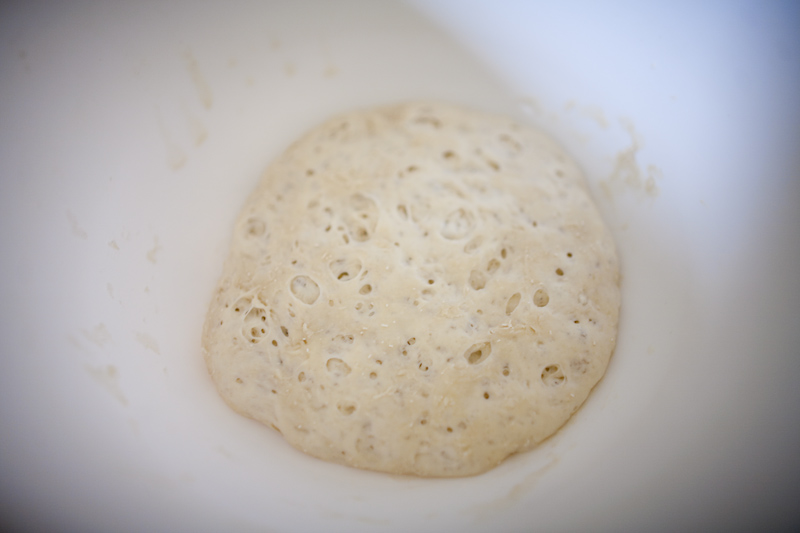
The recipe calls for creating a starter the night before. Here it is after being given 14 hours to rise. I didn’t notice this at the time, but my starter was much less watery than what shows up on the King Arthur website. I don’t know why my starter looked so different – the recipe is really simple. 1 cup flour, 0.5 cups water, and 1/16tsp yeast. Perhaps my bread flour was packed down too much and I ended up adding too much?
I also made one change – I couldn’t find their high-protein, hard-wheat flour, so I used their bread flower. I think it has a slightly lower protein content but I don’t think it made a big difference.
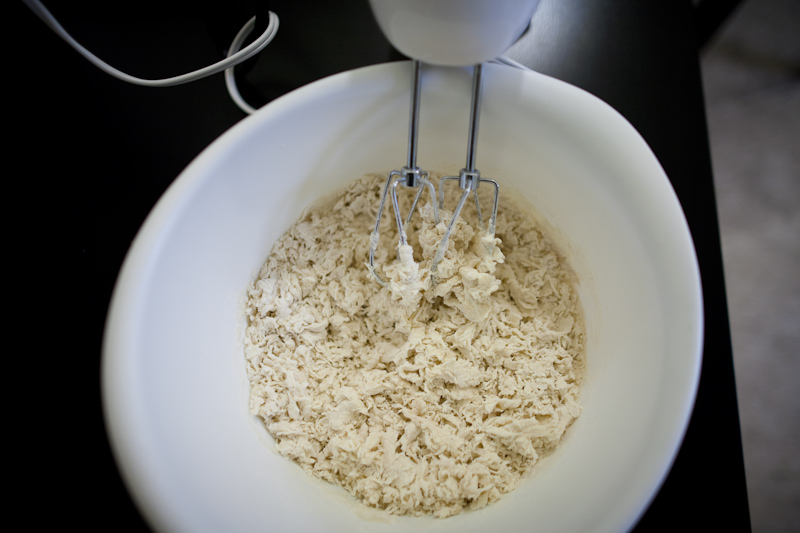 I took the starter and added the remaining dough ingredients – 1 cup of water, 2 tsp salt, 3.5 cups flour and 1.5 tsp yeast. Once again, the dough was super-dry and hard to keep together. It looked like spaetzle.
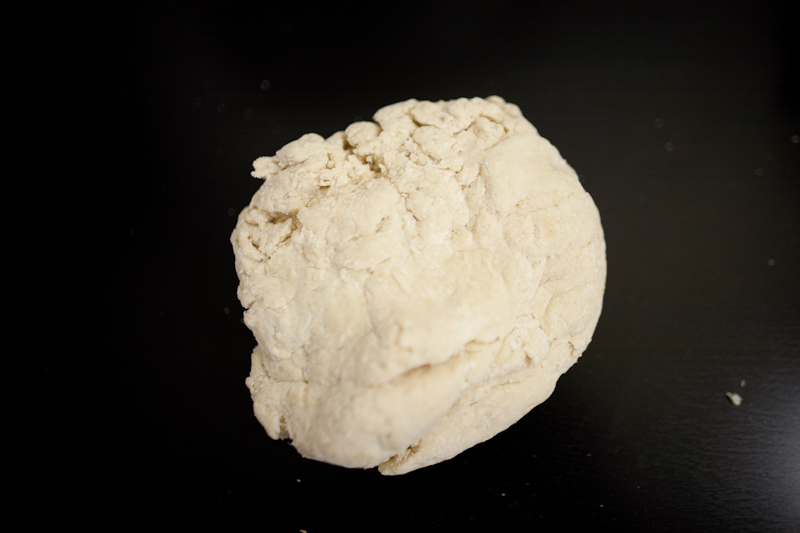 I tried kneading this dough. It was crazy hard to knead. I pushed down with all of my body weight to the point where my wrists started hurting and still had trouble making progress. It was at this point that I decided that we definitely need a stand mixer.
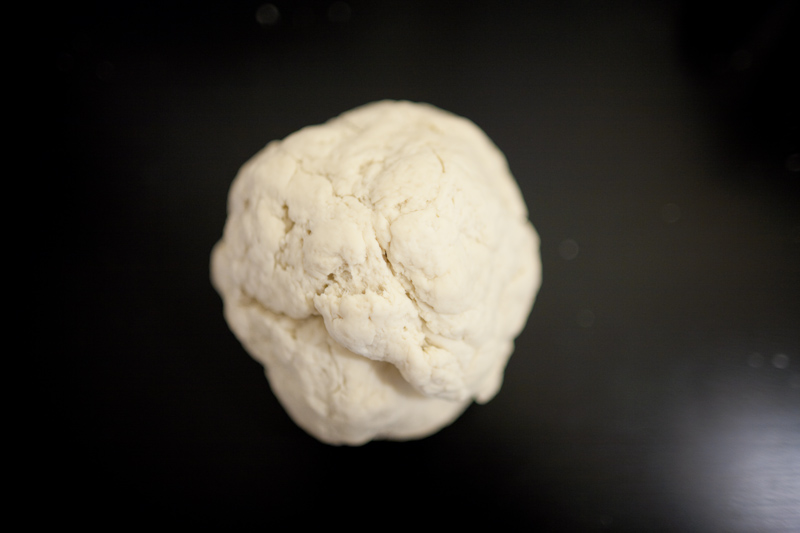 I spent about 20 minutes trying to knead the dough. Here’s the dough ball. It still looked much dryer than the pictures on the website.
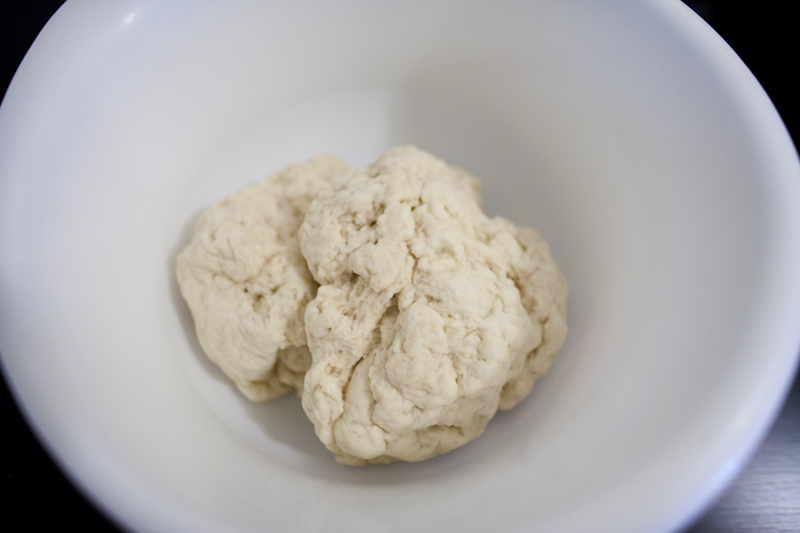 The recipe called for a 90 minute rise. The dough rose a bit, but not very much. It doesn’t at all match the photo in the recipe. The dough was probably too dry for the CO2 produced by the yeast to make it expand.
 Since the dough was so dry, it was hard to work the bagels and form them into smooth balls.. but I still tried.
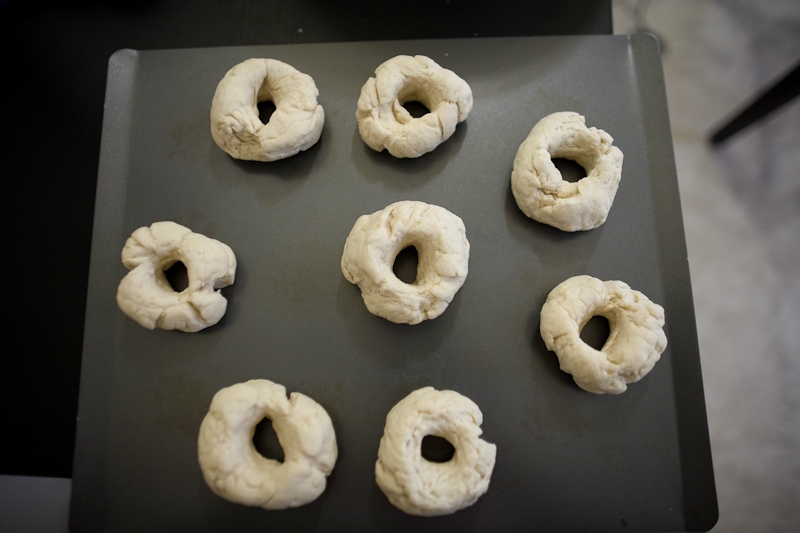 Here are the bagels ready for boiling/steaming. I decided to try to steam the bagels but didn’t have a good steaming rack. The recipe calls for using malt powder in the water to give the bagels a bit of a shine. I didn’t have any, so I used brown sugar. I tried to experiment with steaming times from 1 minute to 4 minutes but in the end it didn’t matter since the steaming was so ineffective.
 Here are the bagels in the oven. I topped them with salt and frozen garlic. I found that it helped to use frozen minced garlic to prevent the garlic from burning too much during baking – the pieces start at a much lower temperature.
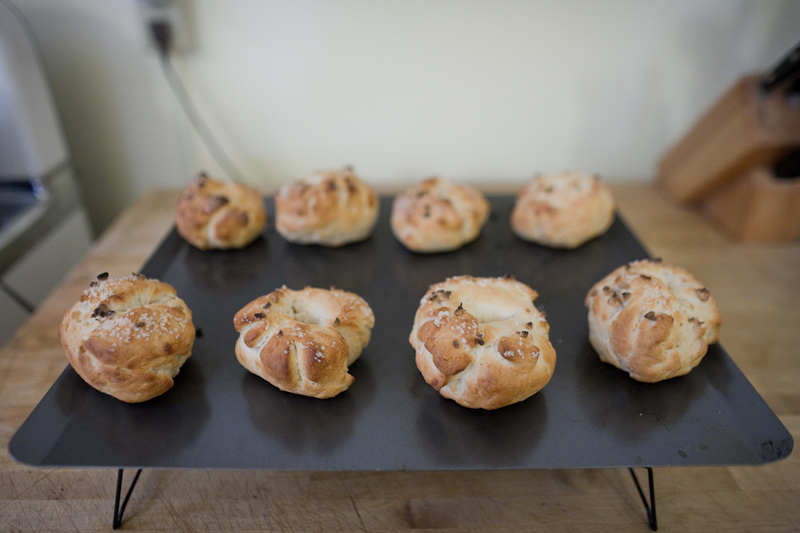 And here are the bagels after baking. Not very bagely looking. They also were probably in the oven a bit long.
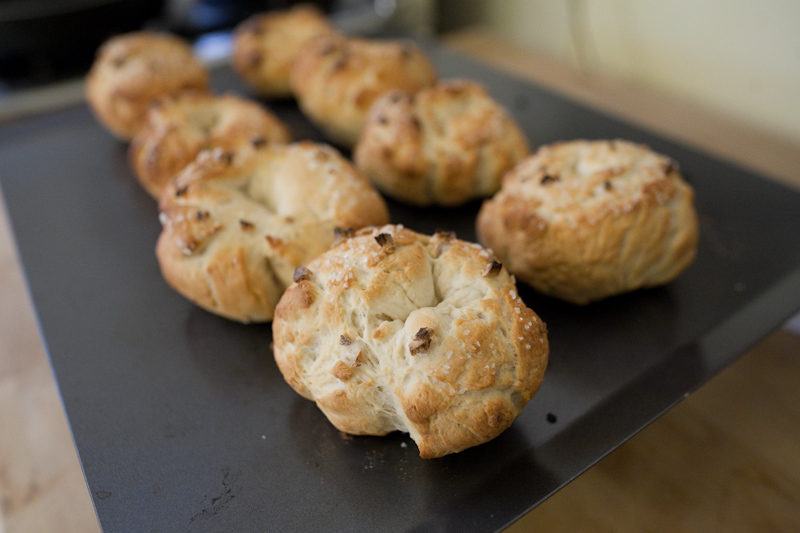 The crust was hard, thick, and a little crispy. This didn’t taste bad but it definitely did not taste like a bagel. The crust resembled something between a hard pretzel and a soft pretzel. They felt a little light and without the density of a bagel but this may have just been an illusion – since the crust was so damned hard, it made them feel kind of hollow.
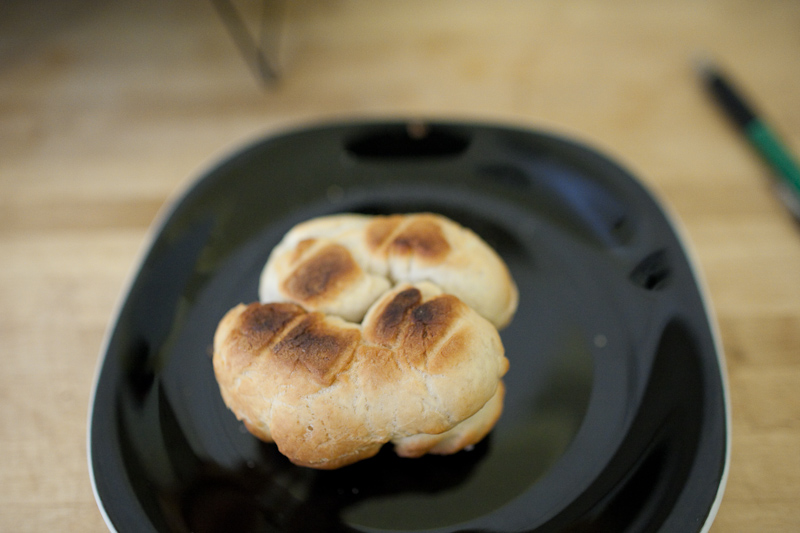 The bottom had burned a little bit. A bit too much time in the oven. Though they didn’t stick (too dry?) I decided to use cornmeal the next time just in case.
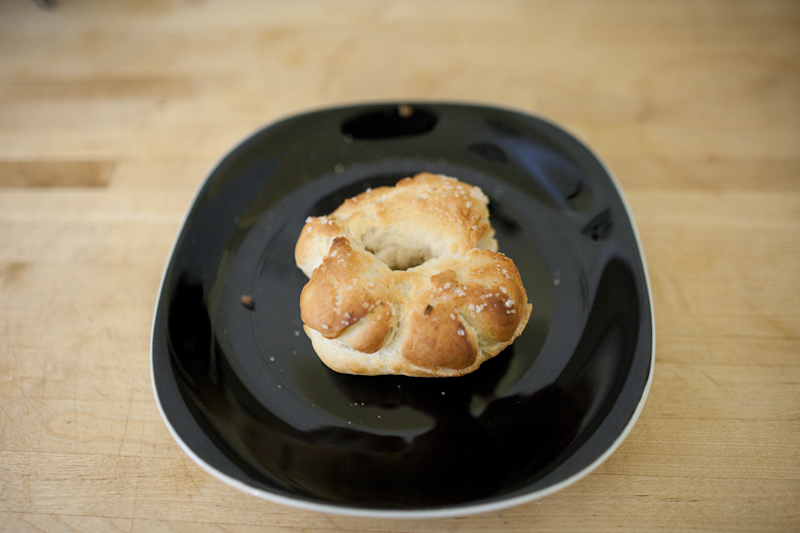
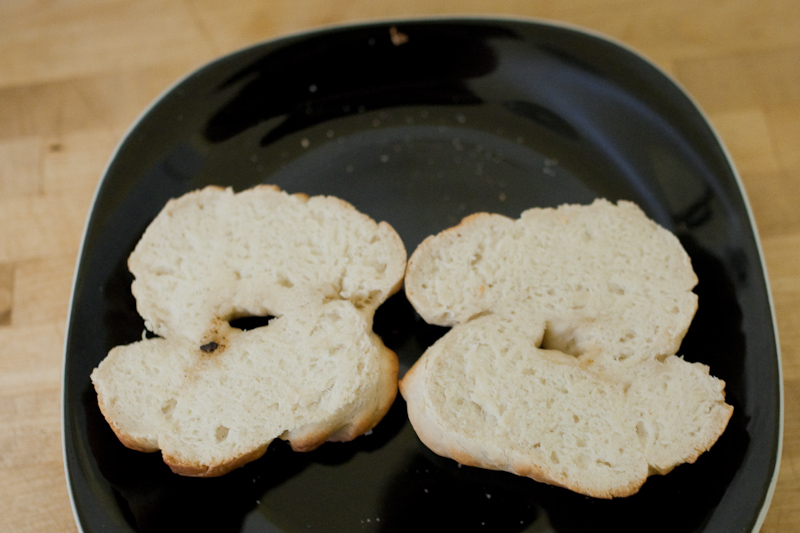 The “crumb” tasted pretty good though.
I started doing a lot of research after this. I learned about hydration ratios and read up on what happens during all of the breadmaking steps and what each ingredient does. I learned the reason why a bagel without gluten is a very sad bagel (sorry Mariposa!). No gluten = no chewiness. The Encyclopizza has an awesome amount of information related to pizza making and a lot of it carries over to other types of bread. (Another plus – the author, John Correll is a cyclist as well!) There was another good link that described the hydration ratios (amount of water/amount of flour in the recipe, aka “percent hydration”) in various types of bread which I lost in a tragic Firefox crash. But apparently I should have been targeting about 55%-60% (by weight) for the bagels. The way I made the recipe resulted in a hydration ratio of about 49%.
These bagels still ended up tasting good, but they didn’t taste like bagels. For version 0.2, I decided to experiment with hydration ratios and had much better results.
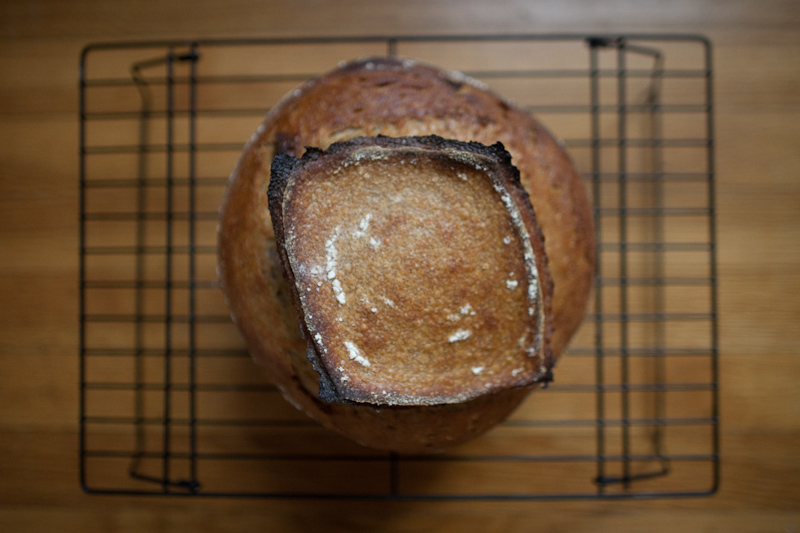
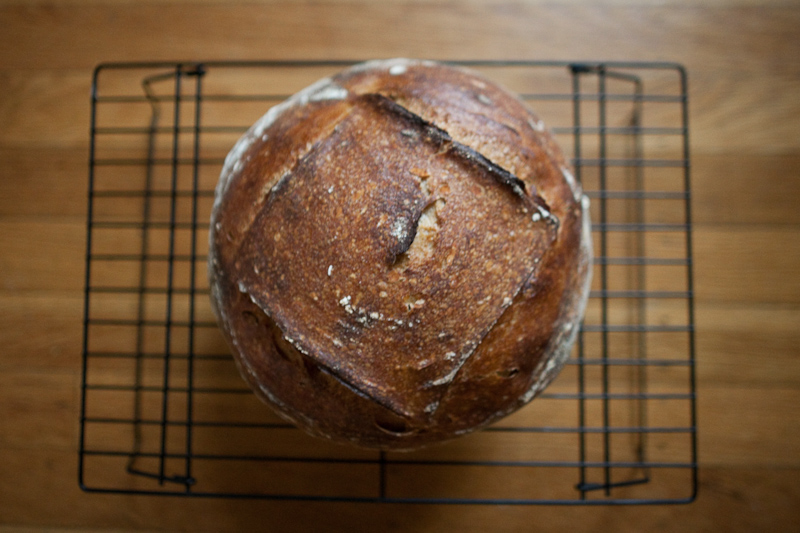
 Top view – kinda funky ears. slashing could be improved
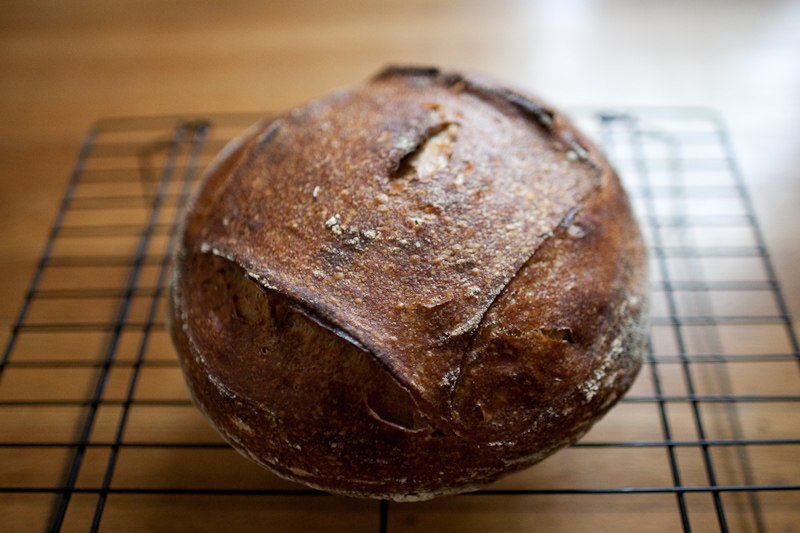
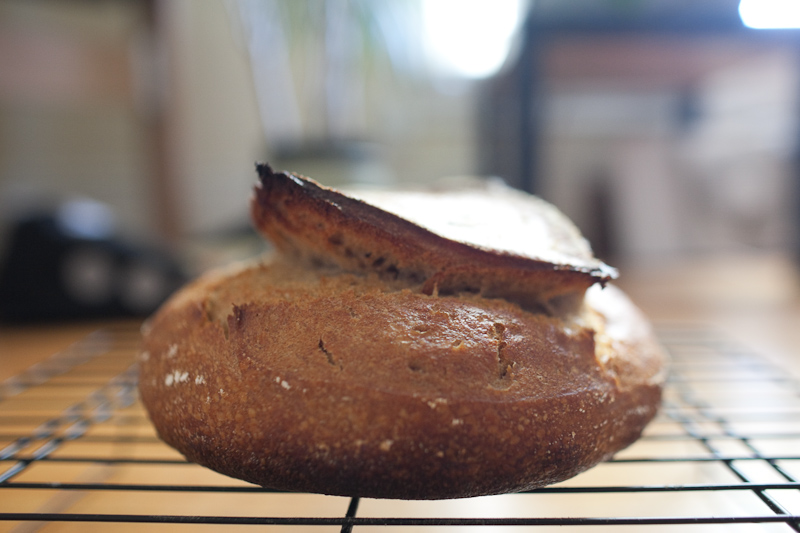 side view. Didn’t rise as high as I’d like because I had this loaf retarding in the fridge for 4 days. Better flavor though..
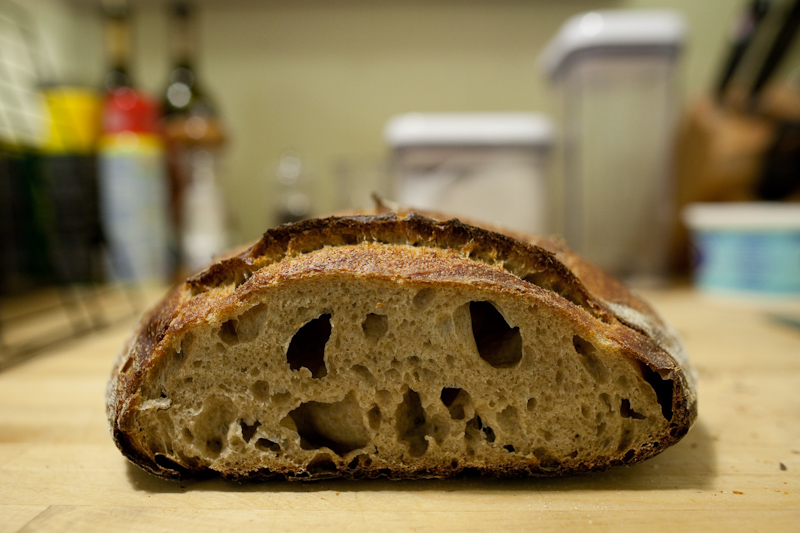
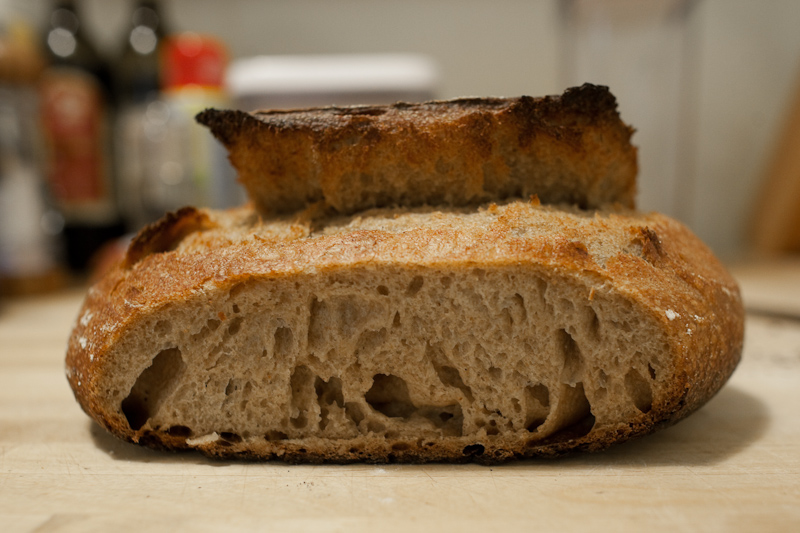 some big holes at the base. gigantic ear on top. Tasted great.
