The Mill Cafe and Bakery in San Francisco

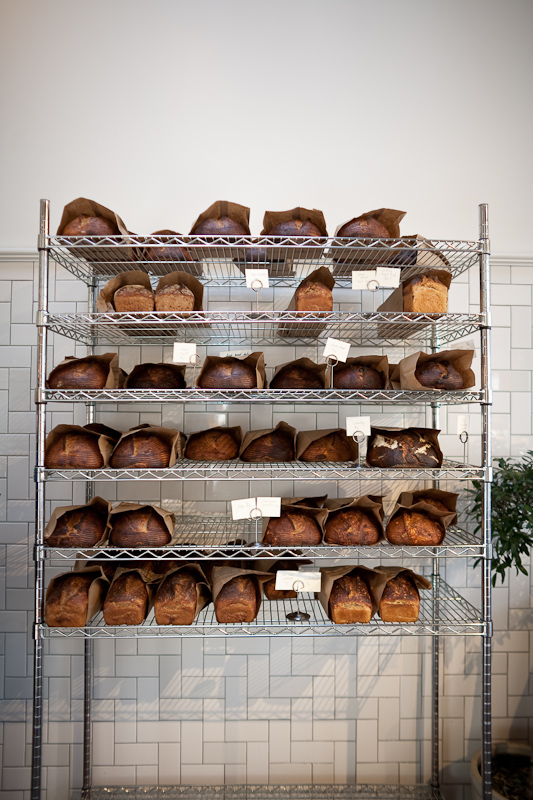
fresh bread at the mill in san francisco

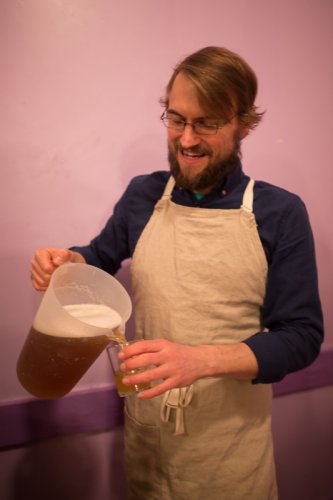
It was Bay to Breakers 2013, but we went across the bay, dressed normally, to get coffee and bread at The Mill.

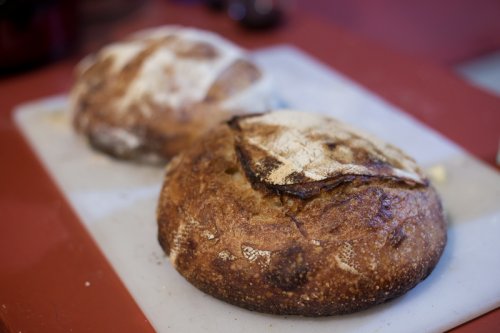
fresh bread at the mill in san francisco Above: loaves of bread on wire racks.

four barrel coffee at the mill in san francisco

The cappuccino made with four barrel coffee in a nuova point cup was enjoyable. rosetta of the day: heart

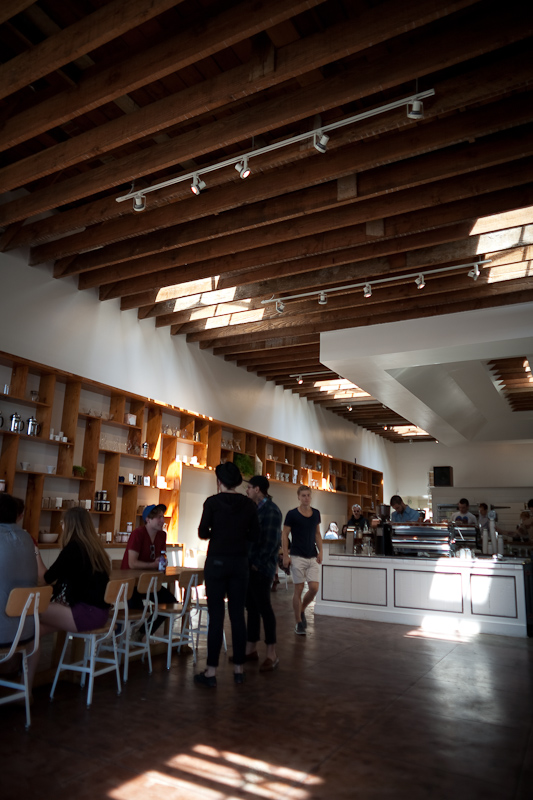
interior of the mill in san francisconice interior with natural light

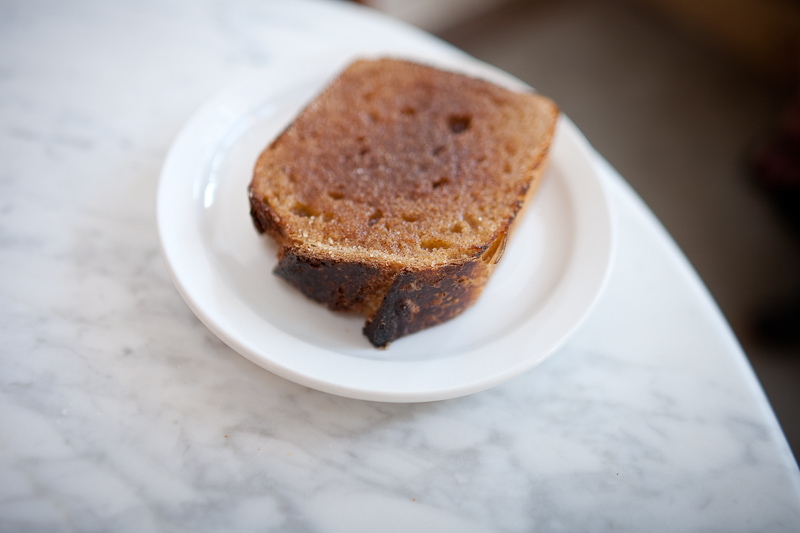
cinnamon and sugar with butter toast on country bread at the mill in san francisco

their toast was great.  cinnamon and sugar and butter on a sourdough country loaf.  thick, chewy, robust crust.

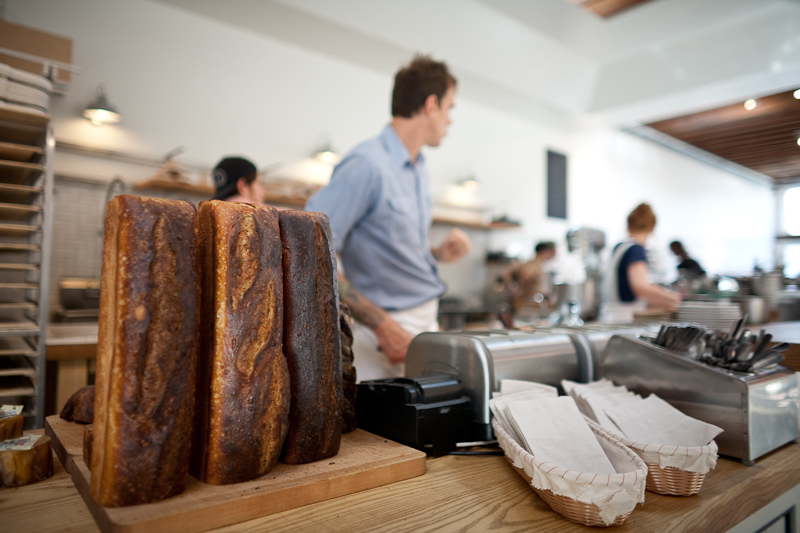
fresh bread at the mill in san francisco

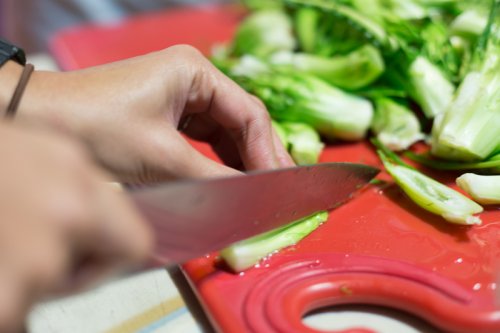
mmm, delicious bread.  dancing food prep dude was into the music.

Eating About Beer 2012 Homebrew Dinner

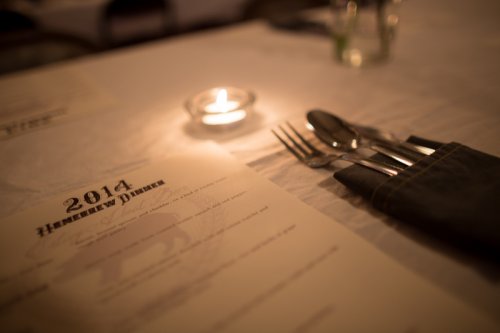
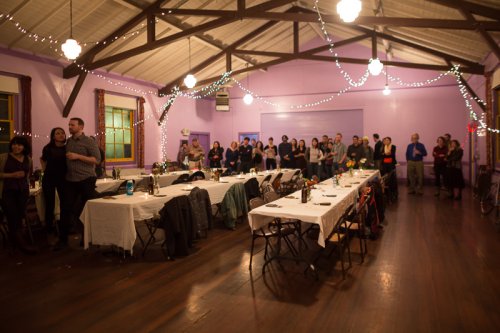
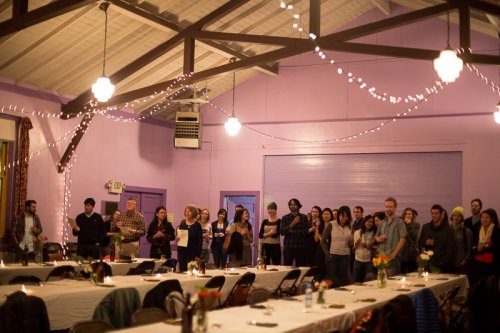
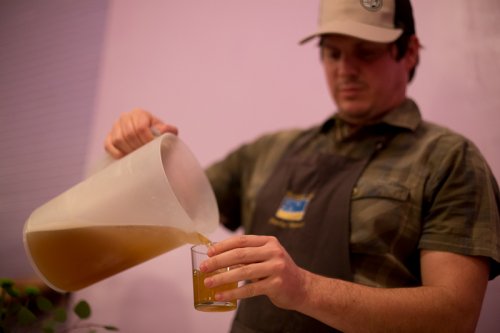
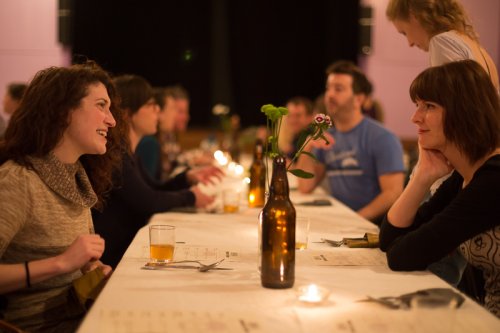
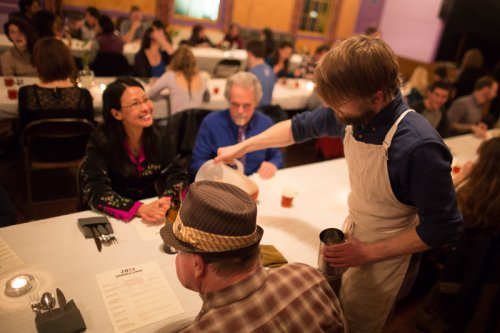
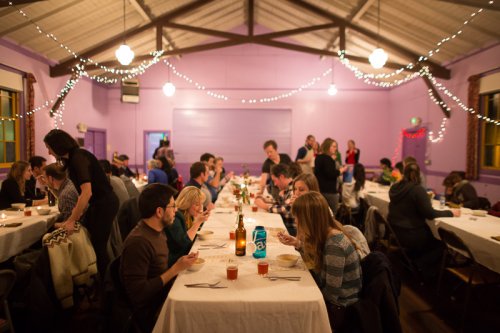
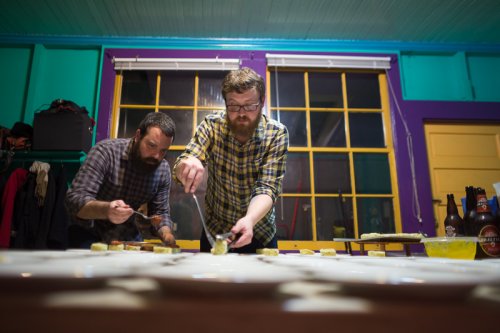
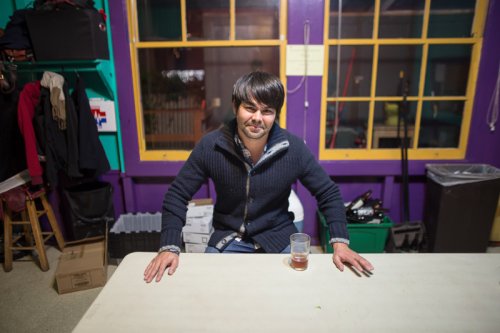
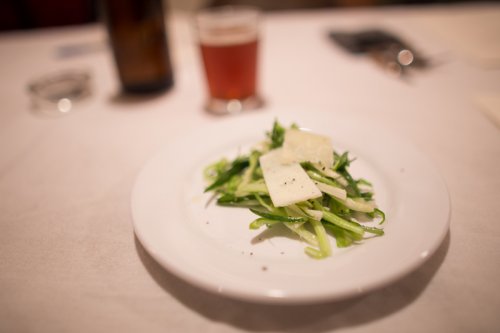
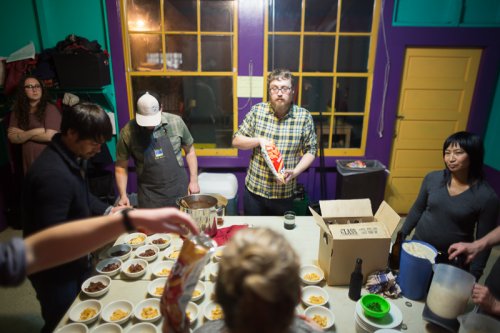
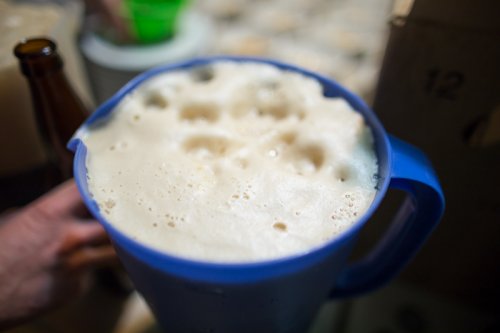
January’s 2012 Homebrew Dinner hosted by Eating About Beer was another great evening of good food, good brews and good company.

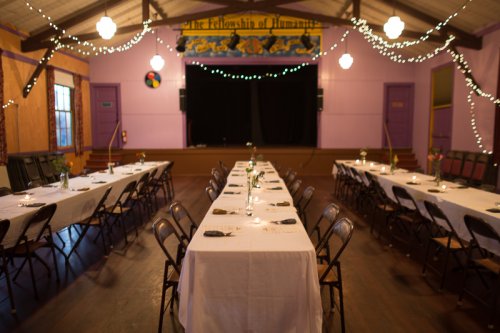
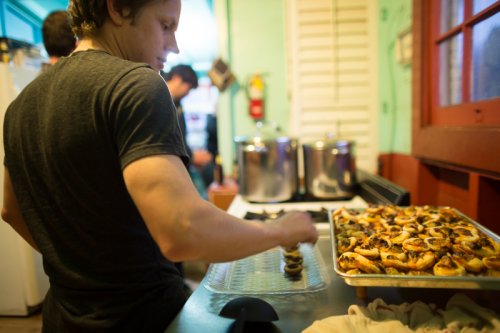
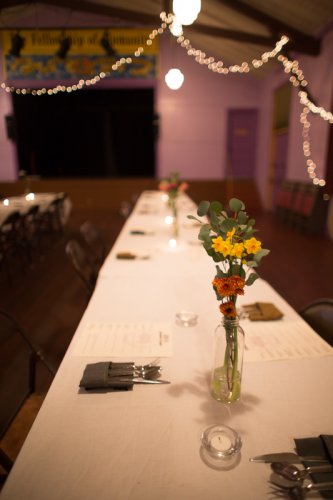
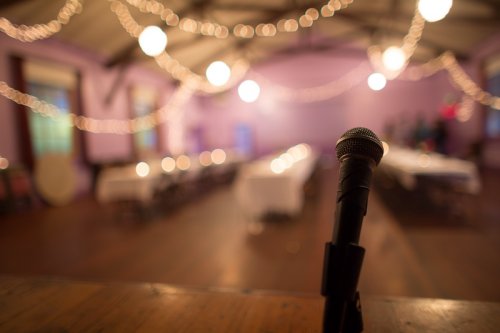
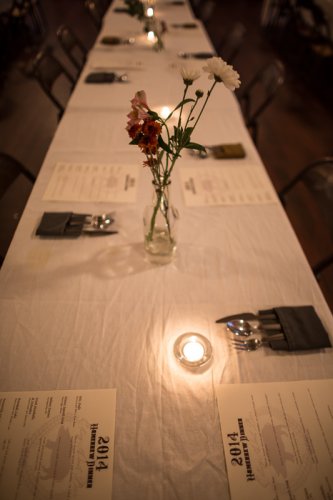
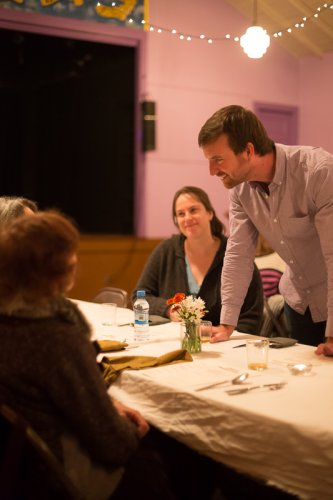
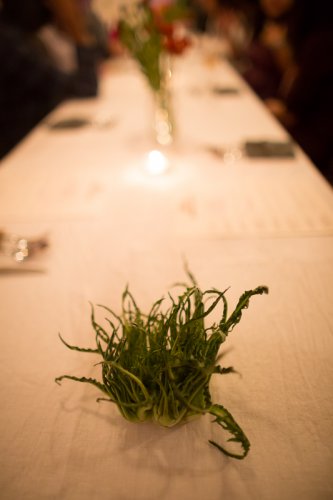
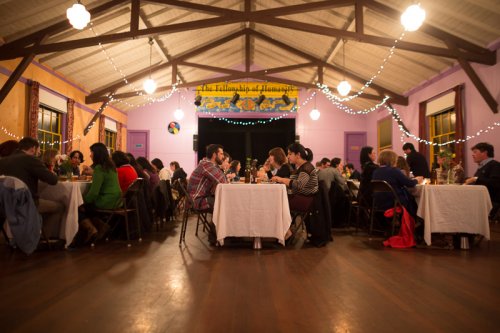
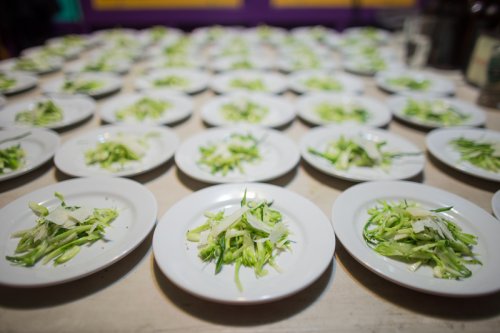
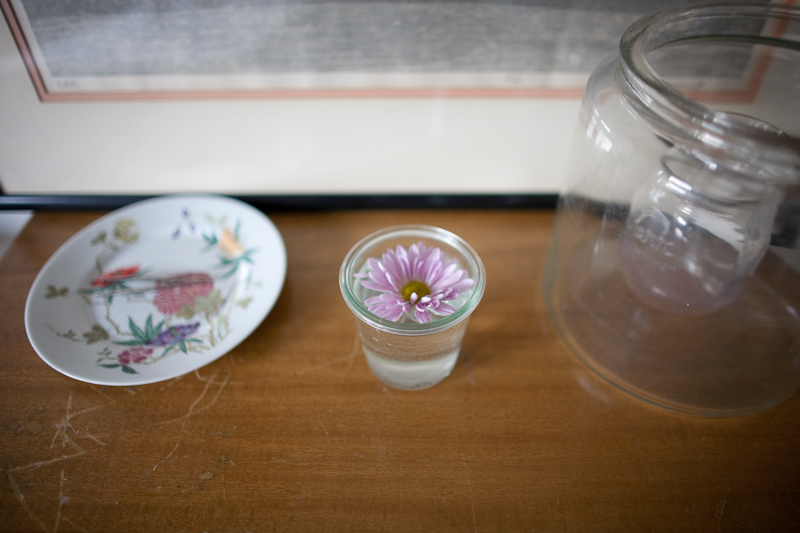
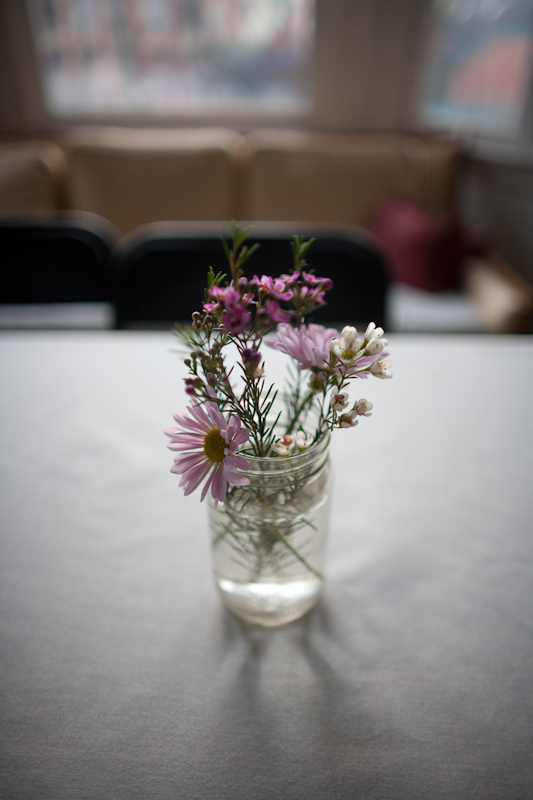
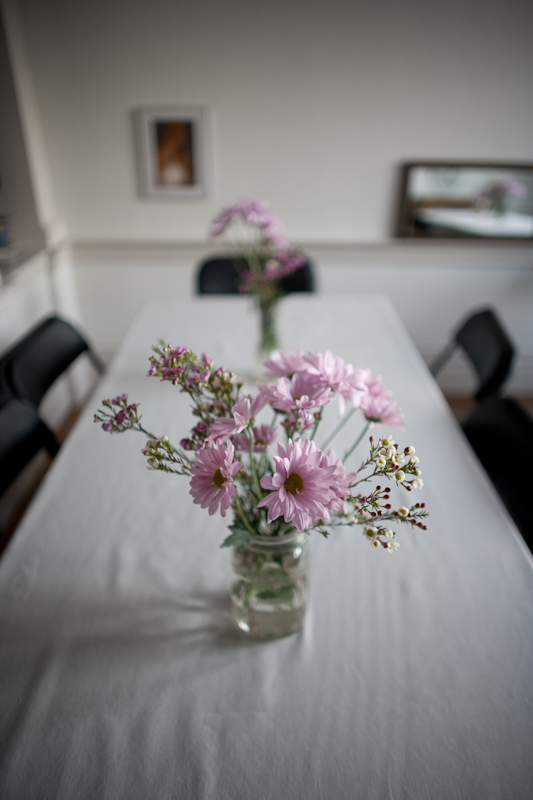
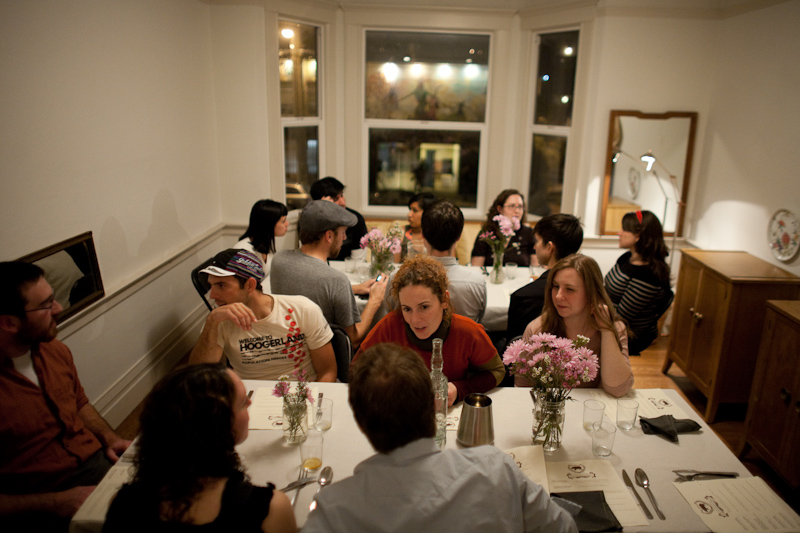
I arrived early to take photos of the set-up.  Erin’s place in San Francisco had beautiful natural light and nice floral arrangements.


And a big dictionary.


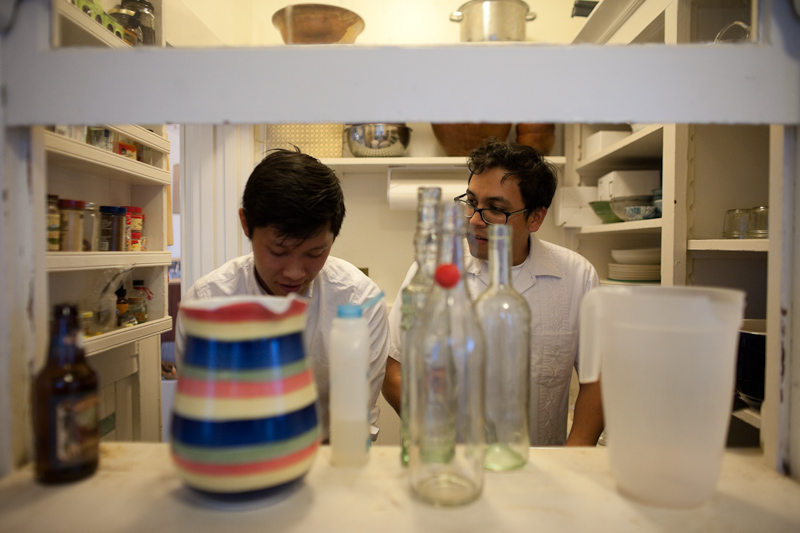
Dishwashing, viewed through the window into the laundry room.


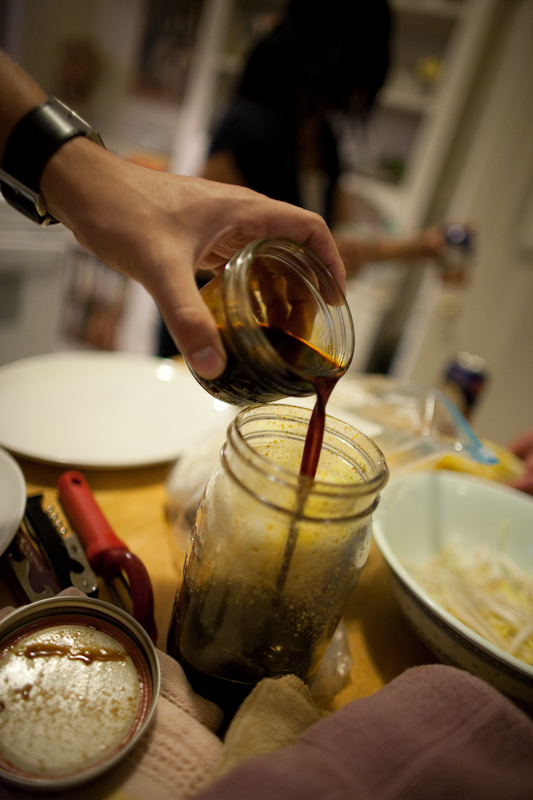
This sauce was for the Yakitori


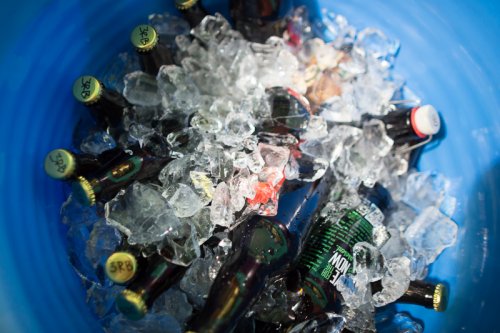
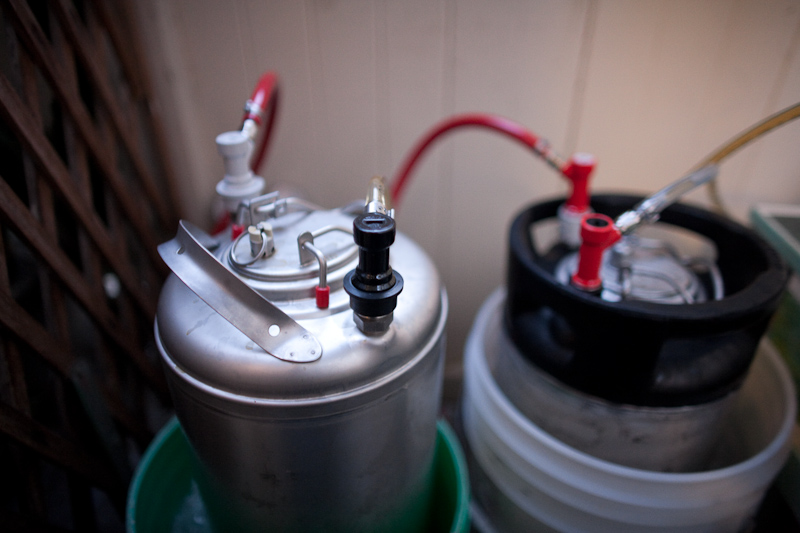
There is an equal amount of beer in bottles and in kegs these days


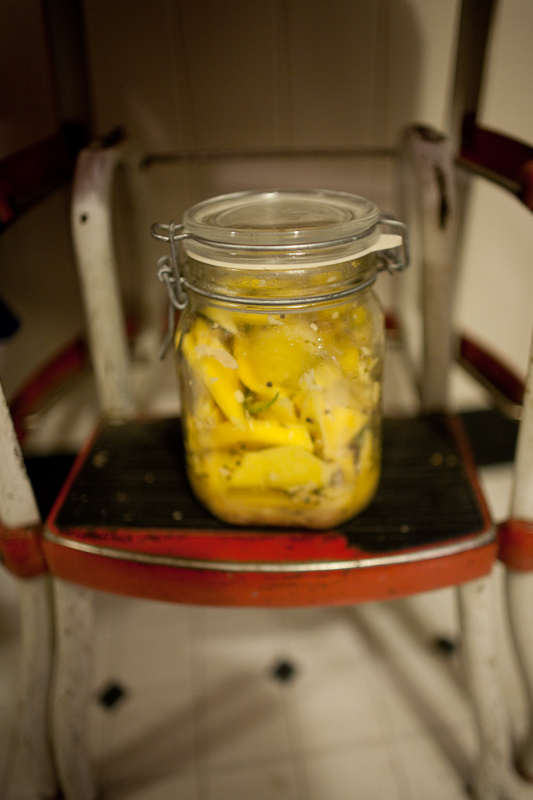
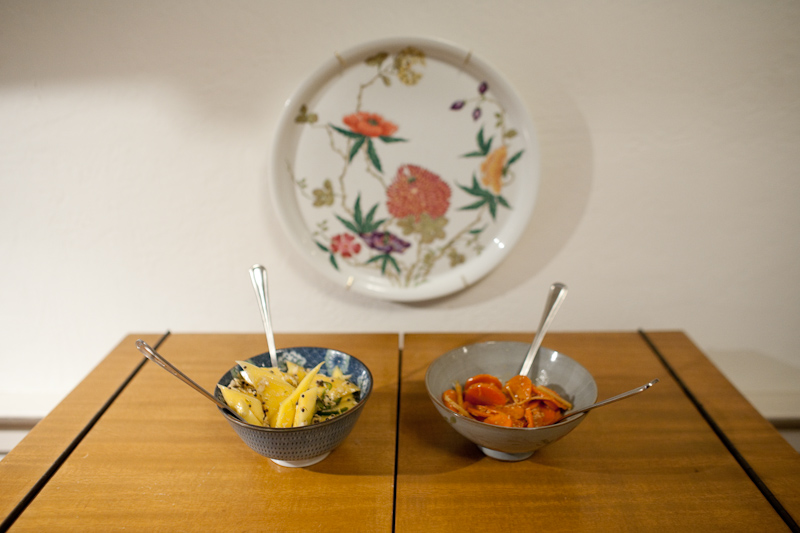
homemade pickled mangoes


and carrots


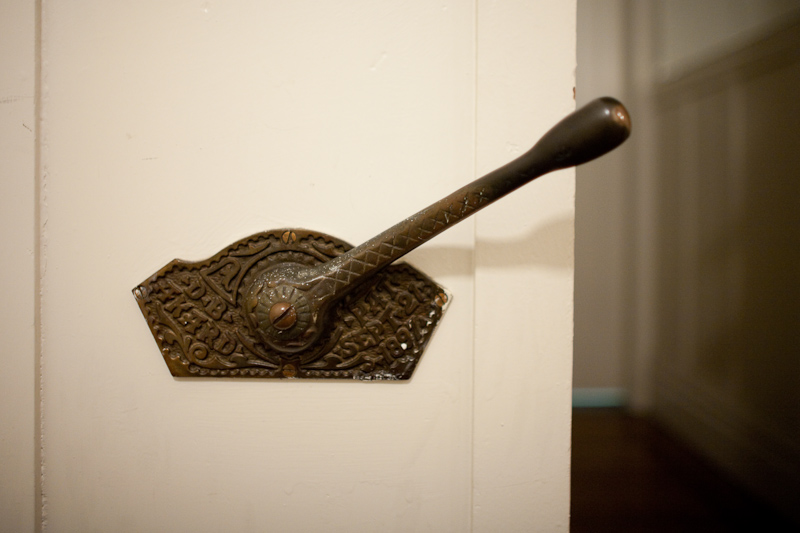
They have a lever that opens the front door.  What are these called?  The internet isn’t helping me.


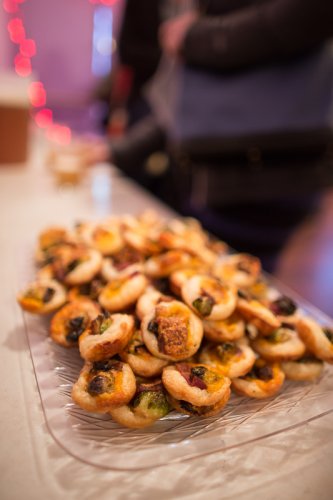
Yakitori and dipping sauce.  Chicken hearts and “regular” chicken too.


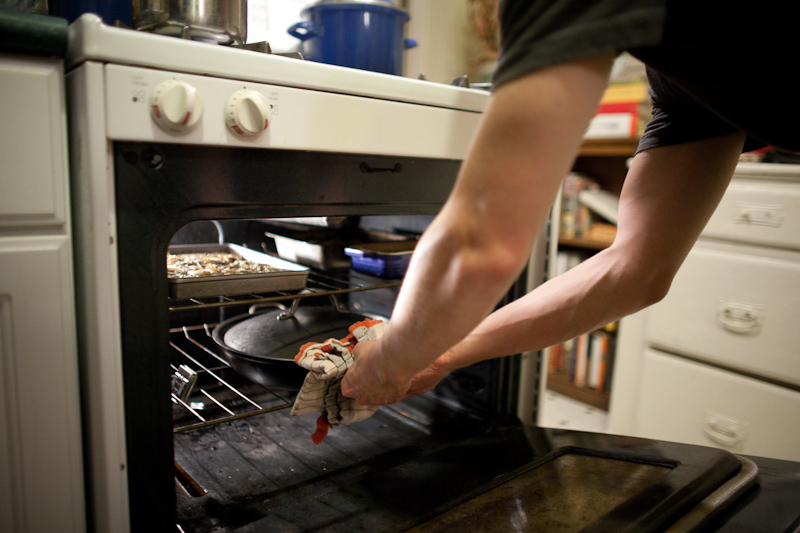
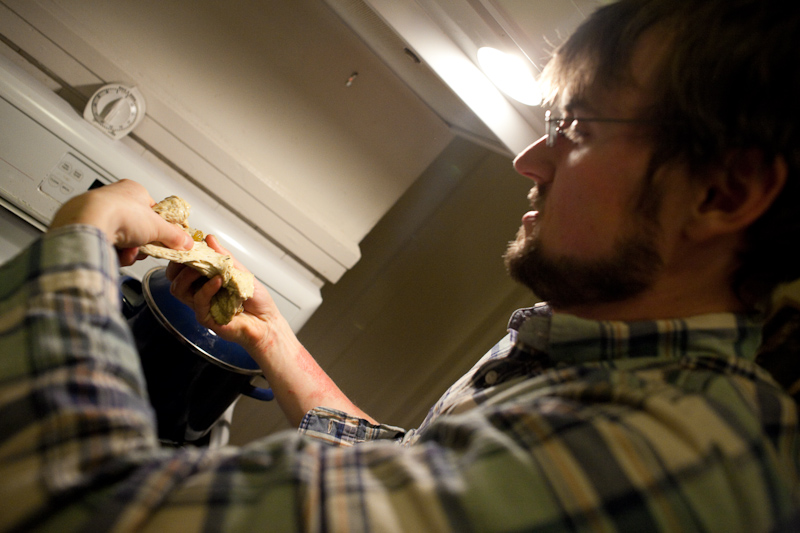
Cast iron coming out of the oven


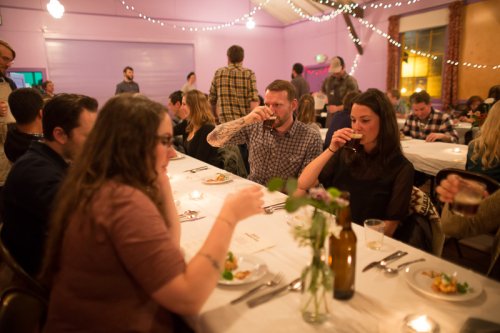
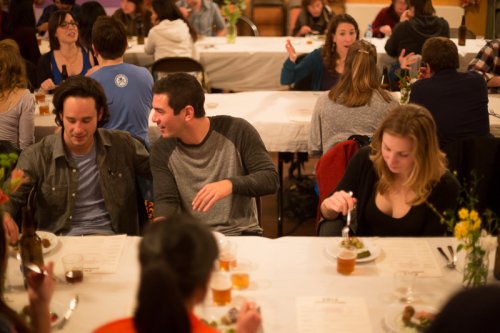
Guests await more food and beer


Seitan


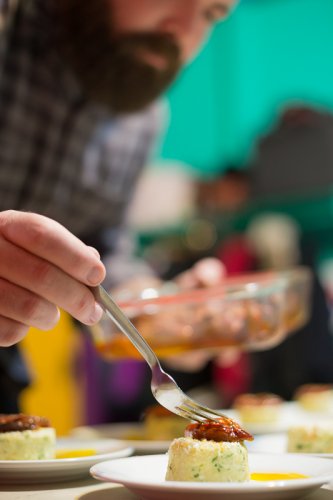
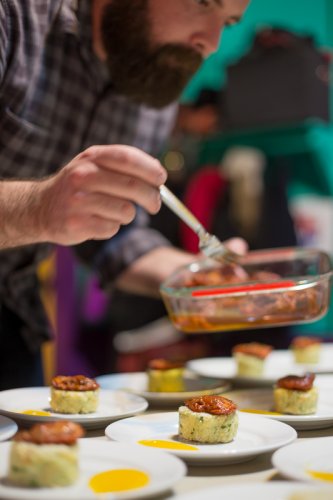
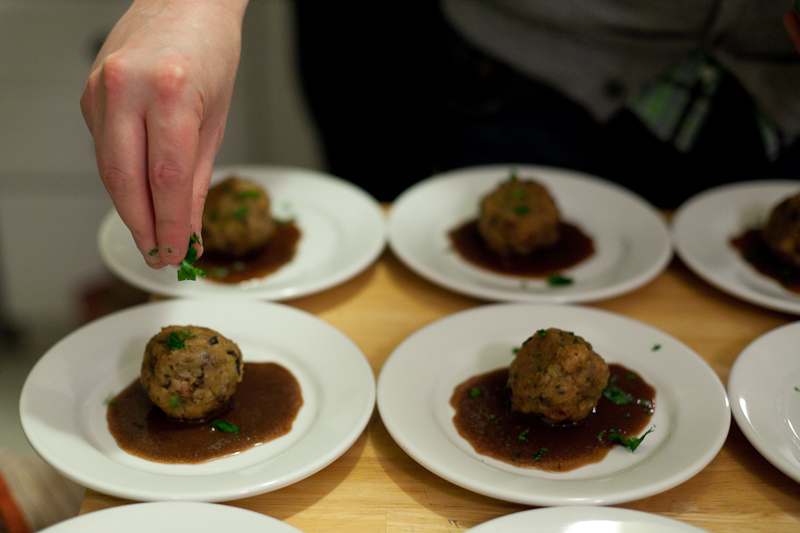
“Inside-out stuffed duck”  – Ground duck wrapped in dressing with a cherry molasses reduction.


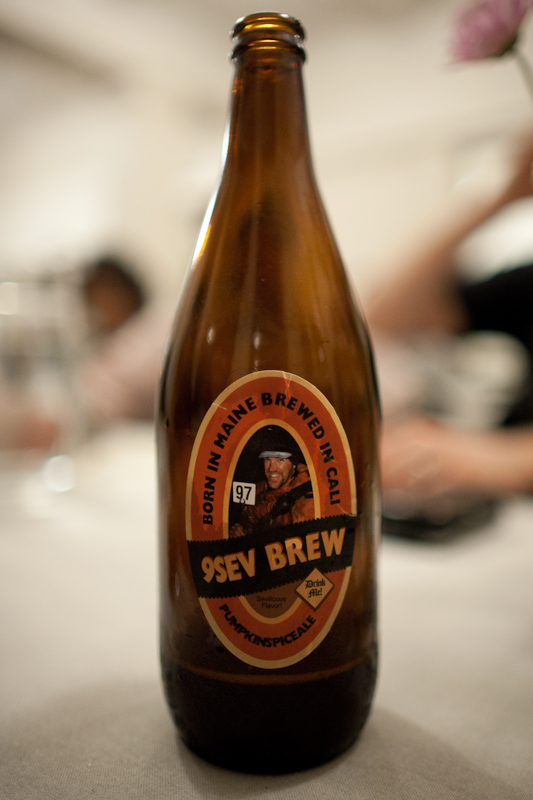
9Sev Brew – Born in Maine Brewed in  Cali.  This pumpkin spice ale was paired with the inside-out stuffed duck above.


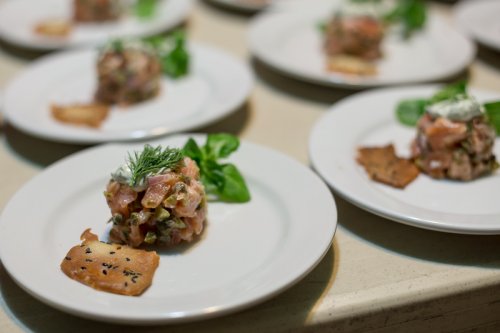
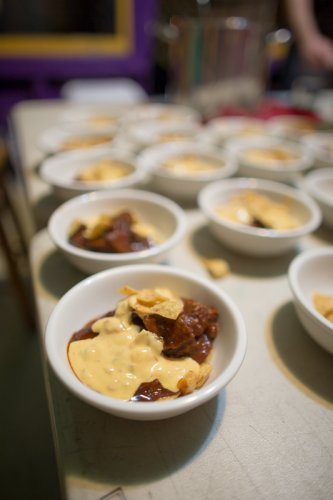
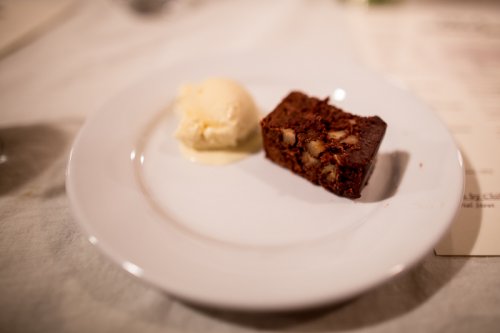
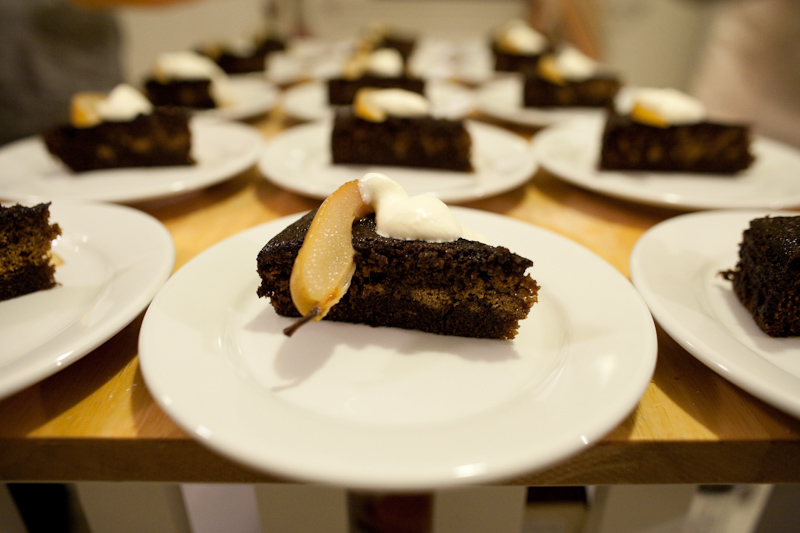
Ginger cake with a poached pear and whipped cream.


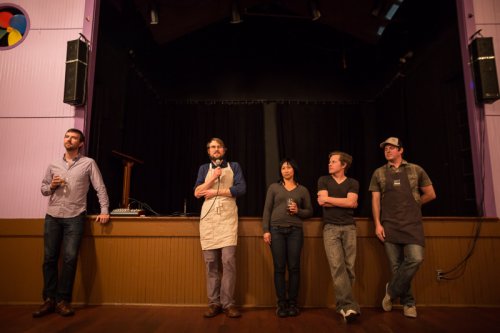
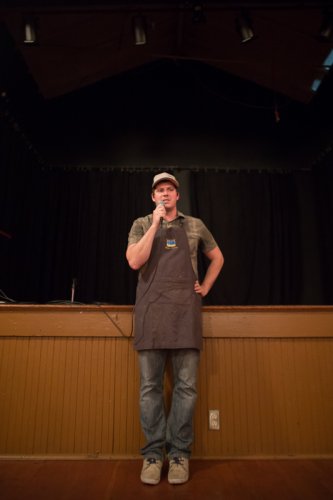
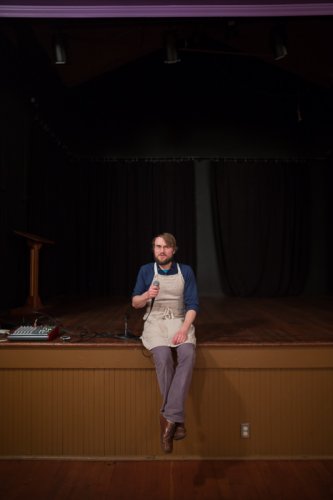
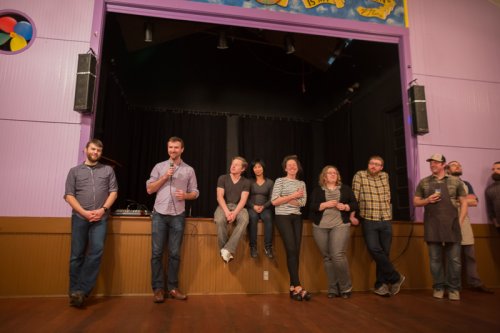
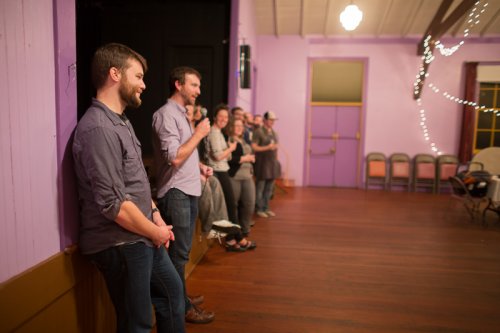
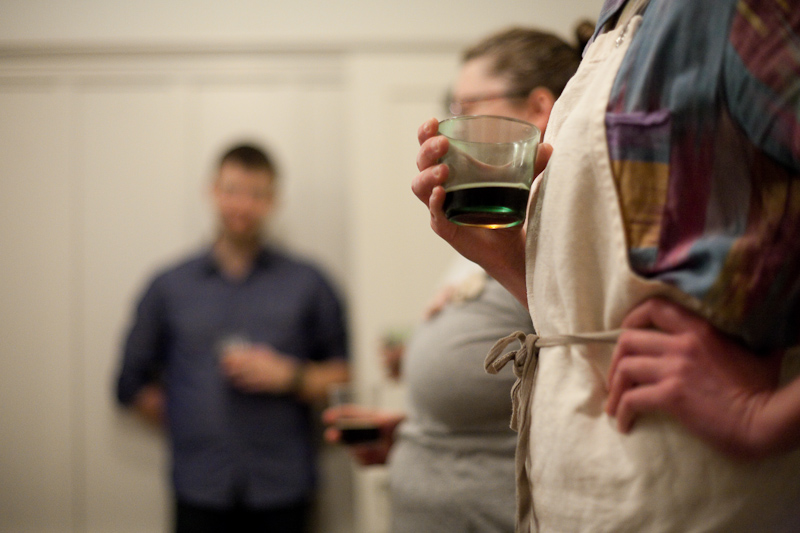
The chefs and brewers came out at the end for a toast.


Photos of the Eating About Beer Summer homebrew potluck in Humanist Halll

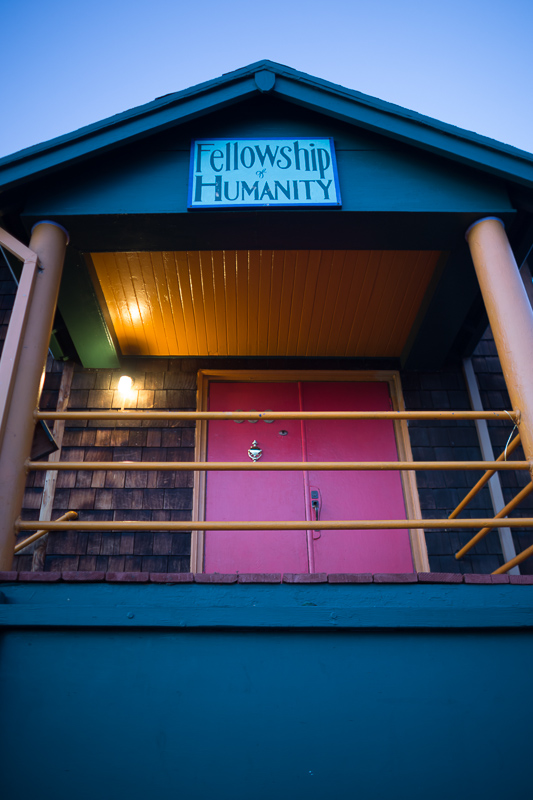
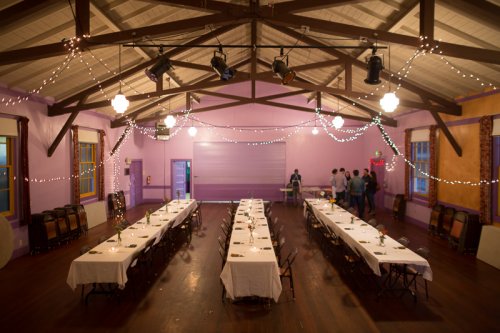
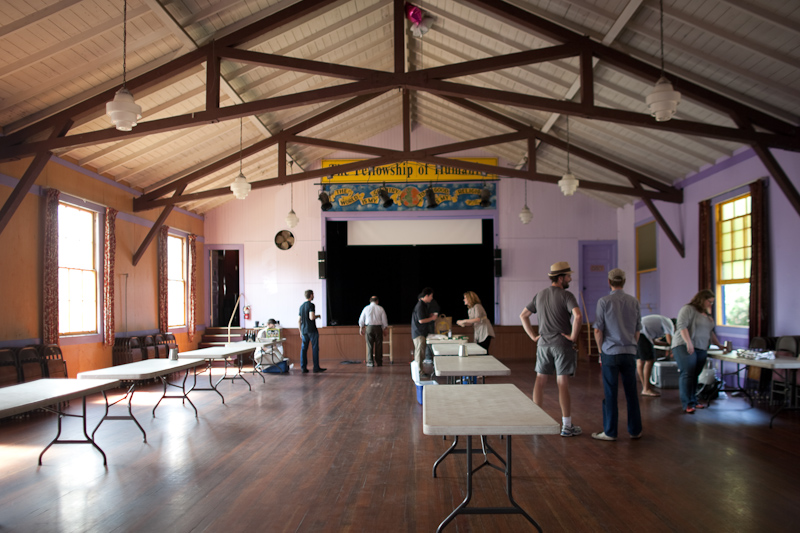
This summer’s Eating about Beer Summer Homebrew Potluck (2011) was hosted at the Humanist Hall this past September.  It was a festive event, but I was struck by how simple, peaceful, and colorful scenes were in the venue.


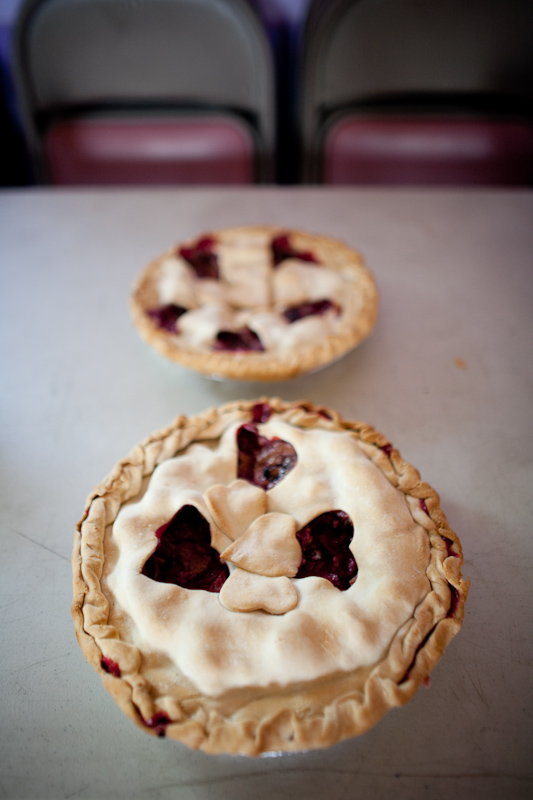
Berry pies


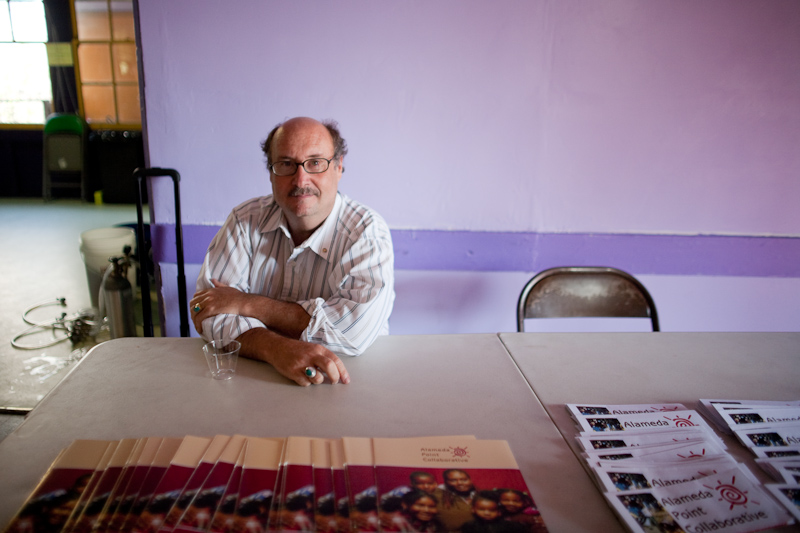
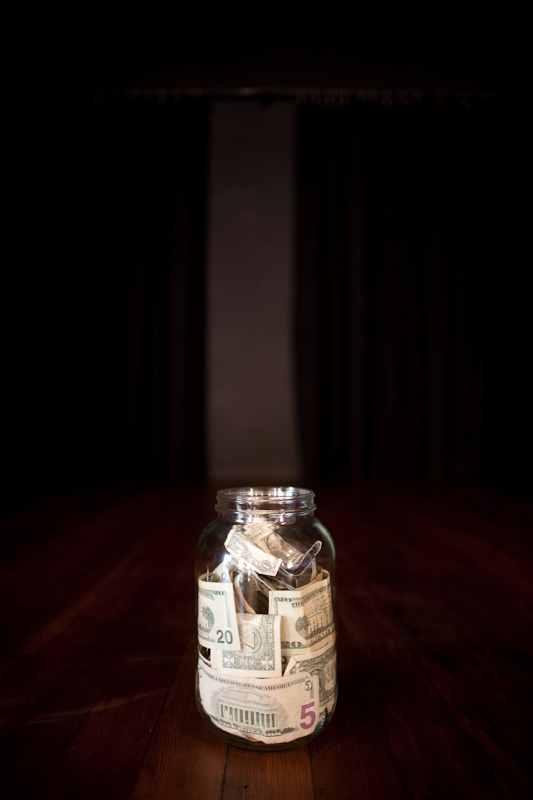
Proceeds went to the Alameda Point Collaborative.


Behind the curtain


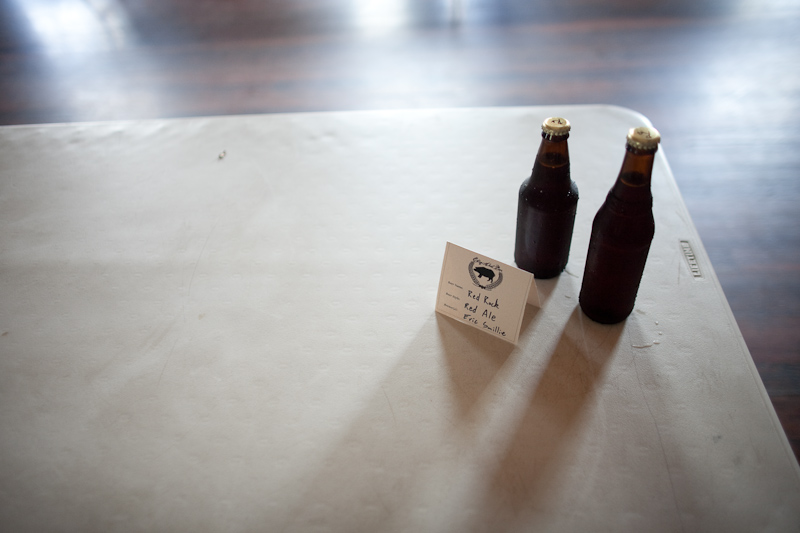
Homebrew by Eric


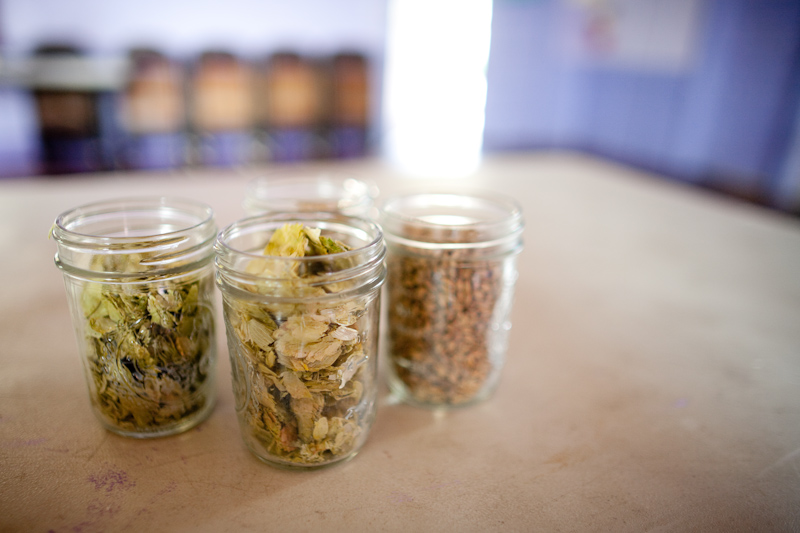
hops in jars


and homebrew in a bucket


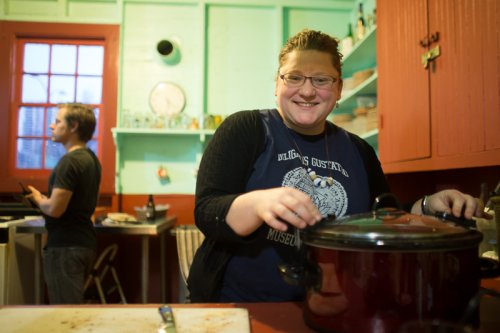
there’s a little kitchen at the Humanist hall, which maintained the same bright, solid colors of the rest of the venue.


donation money jar


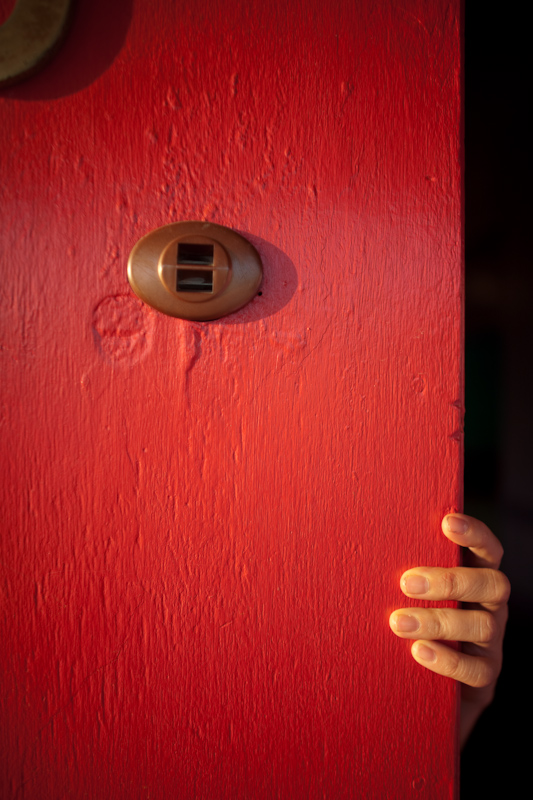
peephole


Bagels v0.2 – A hydration experiment with good results

I made some tweaks after my last attempt at homemade bagels didn’t turn out as well as I had liked.  I figured that there wasn’t the right proportion of water in the last batch.  The dough was too dry, which made it nearly impossible to work with, leading to lumpy bagels.  I also had probably baked them for a little too long.  This time, I set out to try the same King Arthur recipe again with a few changes:

-I split the dough into two batches, with two different hydration ratios

-I boiled the bagels instead of trying to steam them

-I baked for less time


I didn’t adjust the starter recipe, but it looks less dry this time.  The difference is probably due to the fact that I still measured flour by volume rather than weight.  It may also have been a bit warmer.


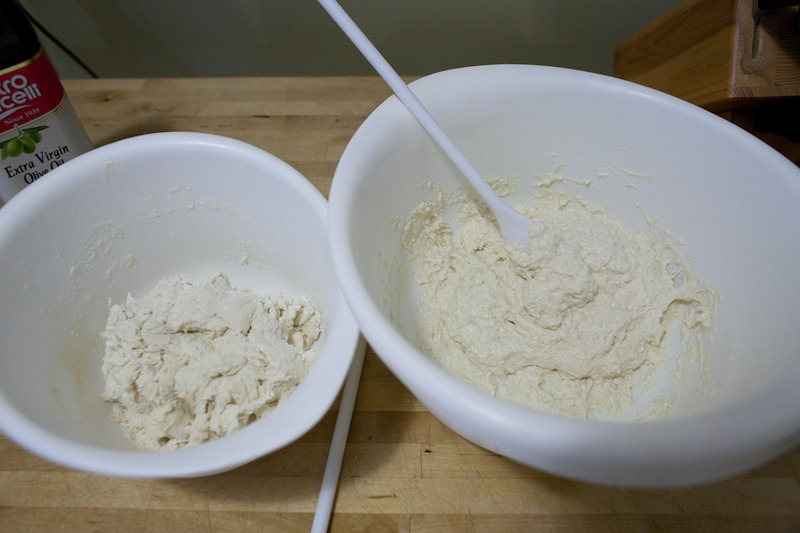
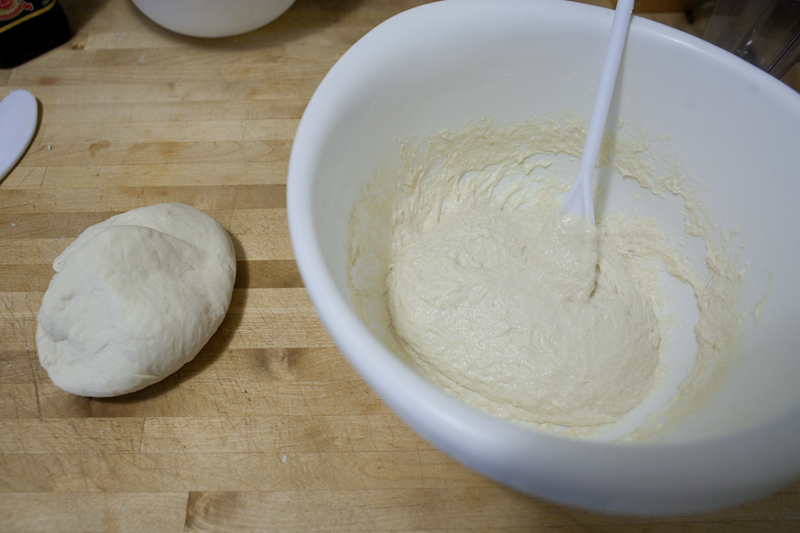
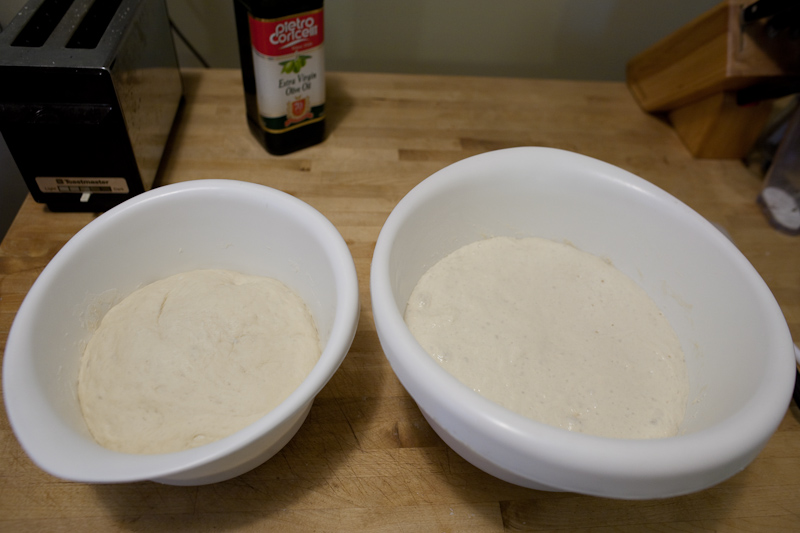
I decided to aim for a target hydration ratios (amount of water/amount of flour) of 40% (left) and 60% (right).  I think I did some math wrong and ended up with ratios of 38% and 51%.  I didn’t know at the time that I think most hydration ratios cited in other sources are by weight.  By weight, the dough had ratios of 56% (right in bagel territory) and 76% (higher than ciabatta territory!).

The dough on the left started a little scraggly but came together pretty quickly.  The dough on the right was sticky and stayed that way.


Here’s a shot of the doughs partially kneaded.  The dough on the left was stiff but workable.  The dough on the right was still sticky.  I could not knead it by hand.


It looked more capable of making bagels.


Here’s a photo of the doughs after a 90 minute rise.  The dough on the right looks like oobleck.


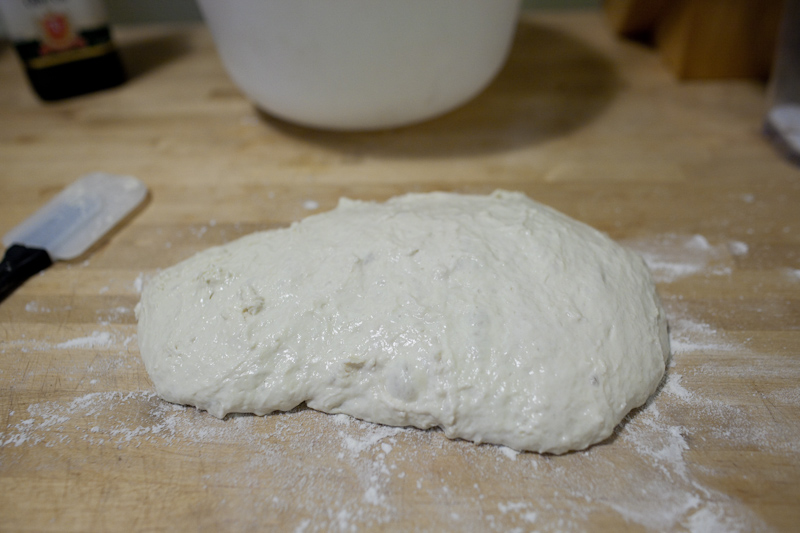
I had to add a lot of flour to even be able to work the wet dough.


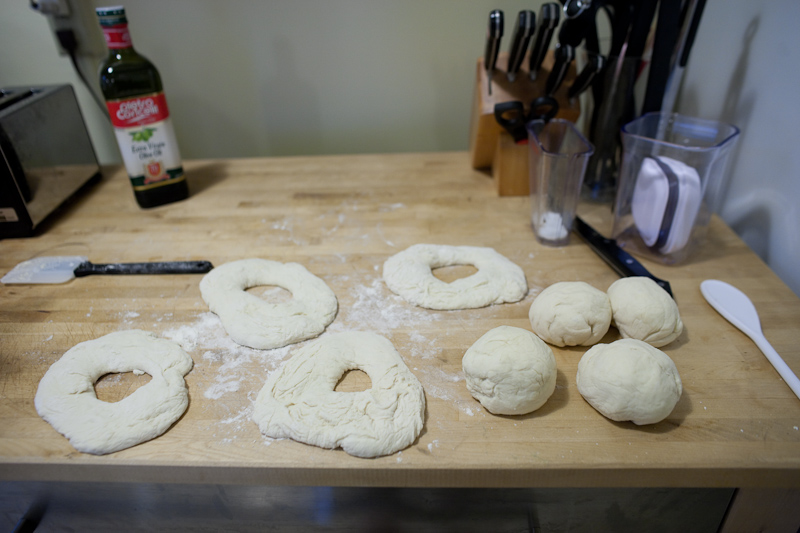
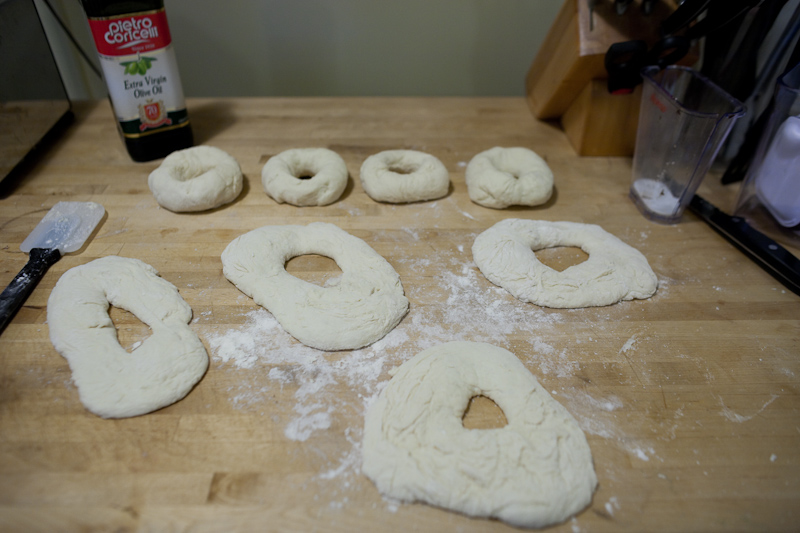
I tried shaping the dough into bagel balls, but it just wasn’t possible.  They did look very capable of a pizza dough, though!


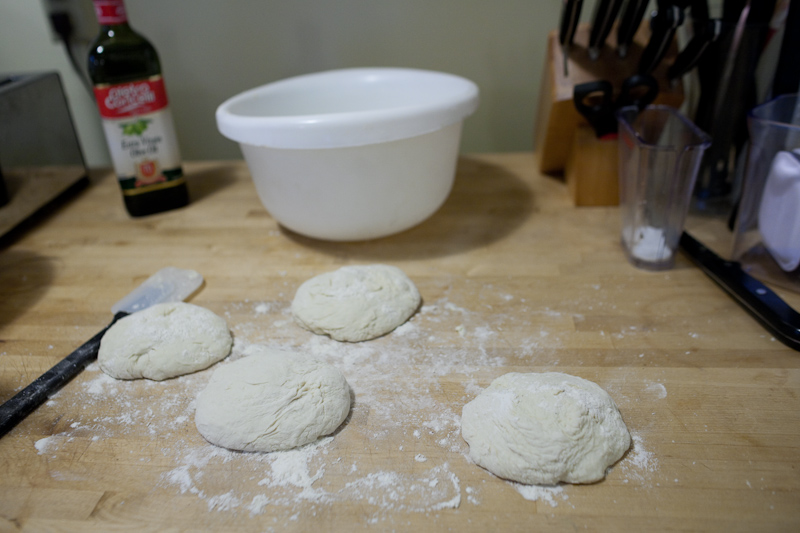
The drier dough (now on the right hand side) was much easier to shape.


I had to add a ton of flour to have these guys not stick to my hands or the counter.


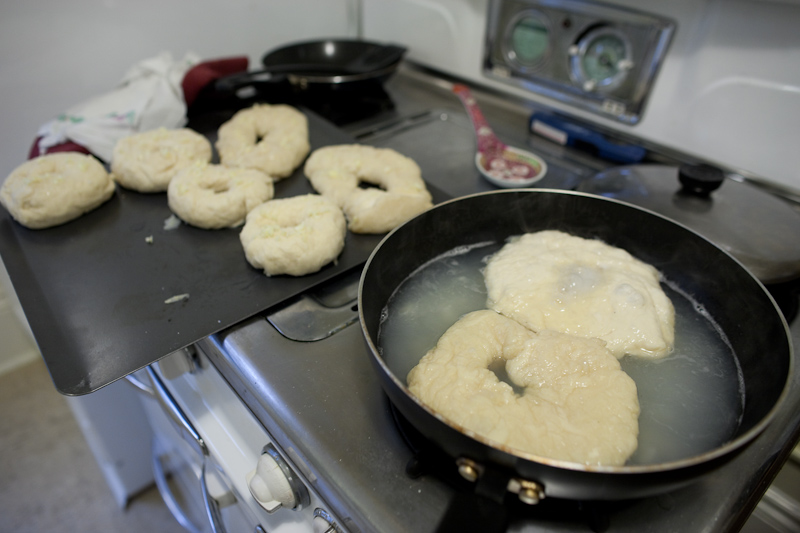
Boiling went okay.  I used regular sugar instead of brown sugar or malt powder, which wasn’t that great of a move.  The goopy and floppy wet bagels ended up absorbing a lot of the sugar and had too sweet of a taste to them in the end.  They kind of reminded me of dumplings.  The drier bagels still had some wrinkles but were a  lot smoother than the last batch I made.


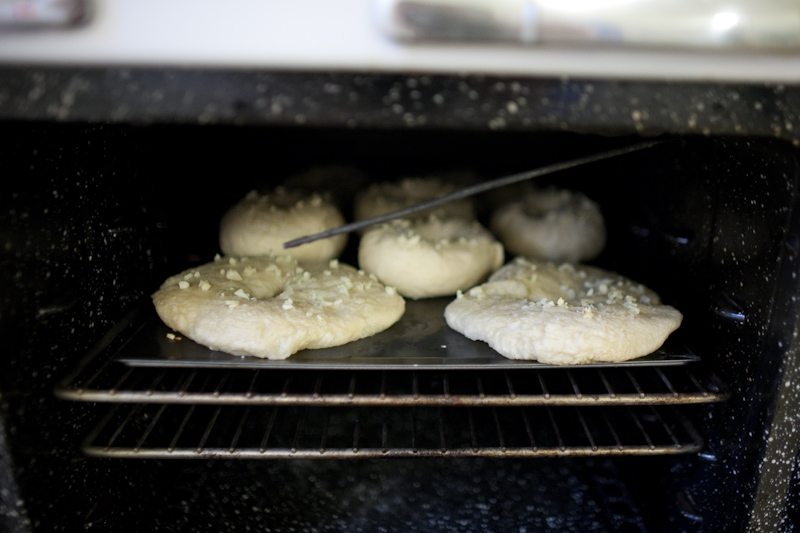
Once again, I coated them all in garlic and sea salt.


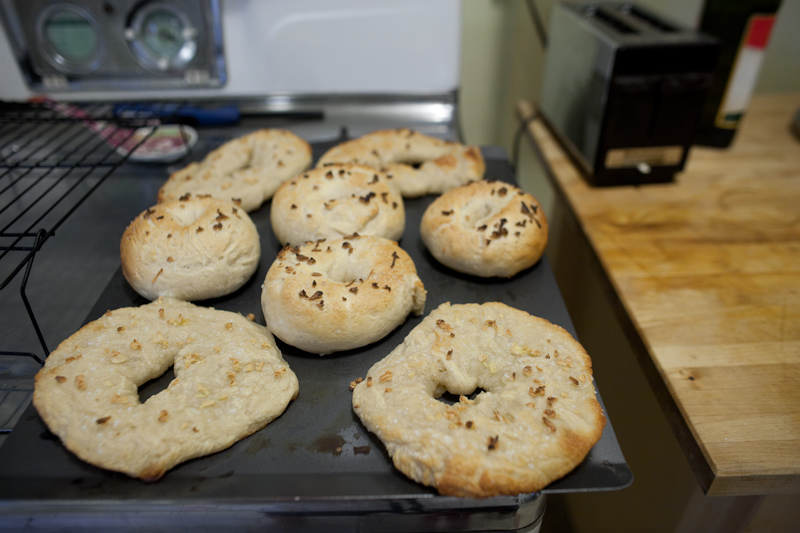
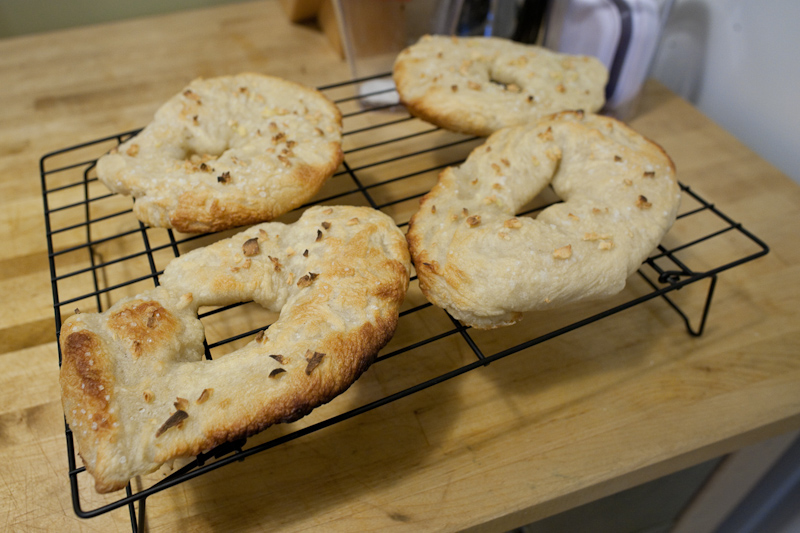
Bagels, baked.  The “wet” ones really reminded me of pizza.


Here’s the batch from the drier dough.  I thought they looked pretty great!  They felt good too – the last batch had a bit of a hollow, hardened feel to them.  These felt softer and.. bagely.  The crust was still a bit hard but not too hard.  Note that the garlic is slightly burnt – which is fine with me.  I think I started with frozen garlic chunks to slow their baking/burning process down a bit so that they weren’t completely charred at the end.


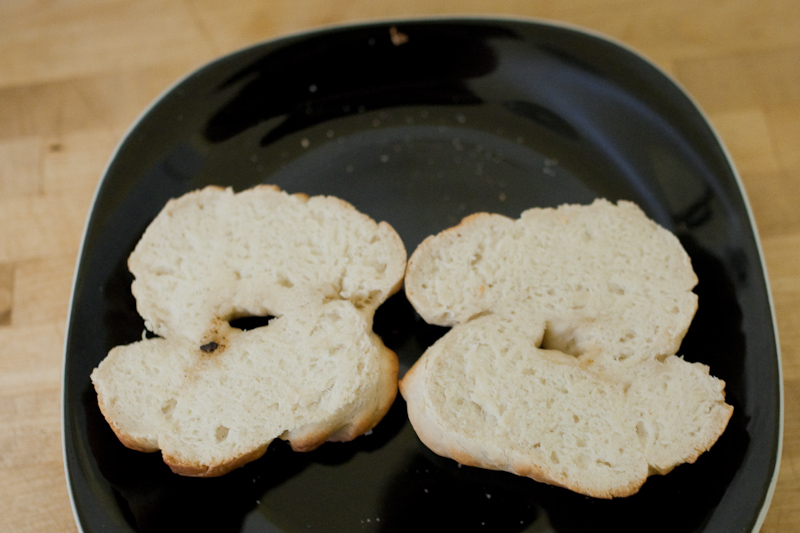
eh..


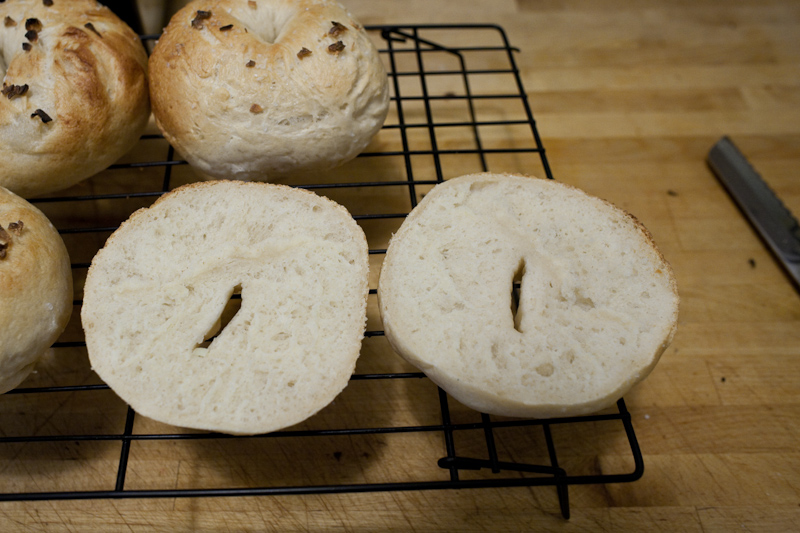
Here’s a good bagel, cut open.  Just a little bit fluffy and chewy.


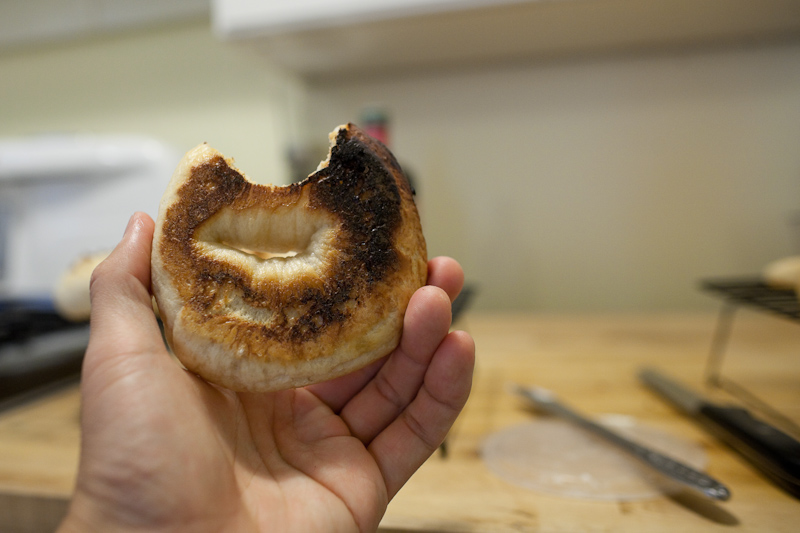
I burned the bottom a bit, and they stuck a bit.  I should have applied cornmeal more liberally.


I didn’t bother taking pictures of the “wet dough” bagels, but they tasted okay – like a super chewy pizza crust.  One or two of them were a little too doughy inside maybe because they took on too much additional water in the boiling process.  I wasn’t too unhappy though – I ended using the higher hydration recipe for pizza dough.  More to come in Part 3!


Eat Real Fest 2011 Part 1 – Blue Bottle Coffee, Ritual Coffee, and Beauty’s Bagel

I once again took photos for this year’s Eat Real Festival, held in Oakland’s Jack London Square from September 23-25, 2011.  This post is the first of many from the festival.  (Part 2, Part 3, Part 4, Part 5, Part 6) The event’s organizers had a fully packed schedule and there were a lot of really interesting things to photograph.

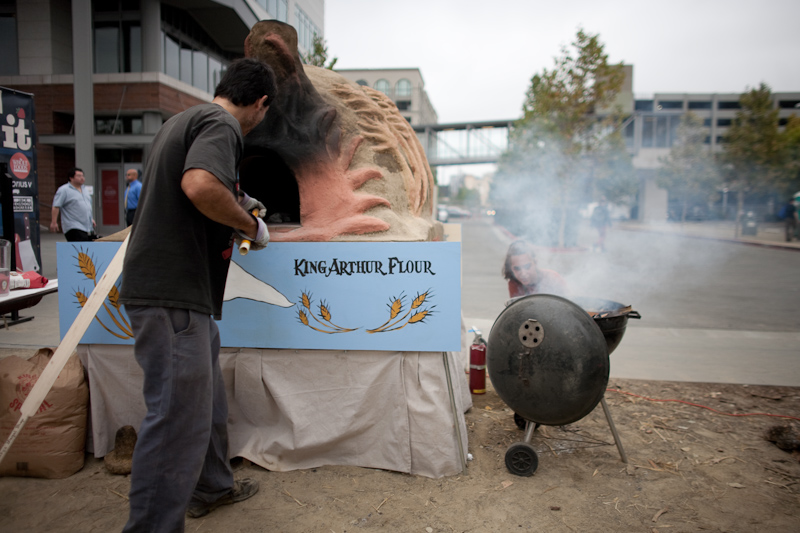
One of the things that I noticed this year was that there were more hands-on activities.  There was a DIY Make-it area and a DIY Eat-it area complete with a community oven, sponsored by King Arthur Flour (I am a fan).

Coffee Brewing with Blue Bottle Coffee

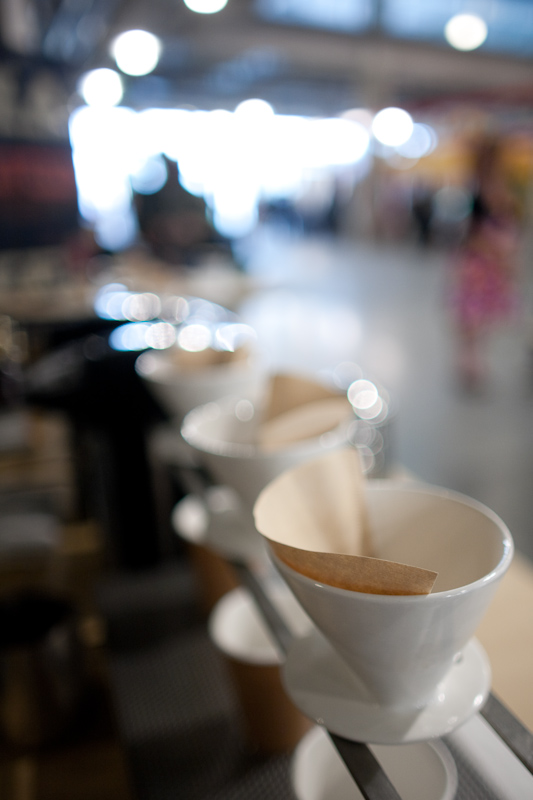
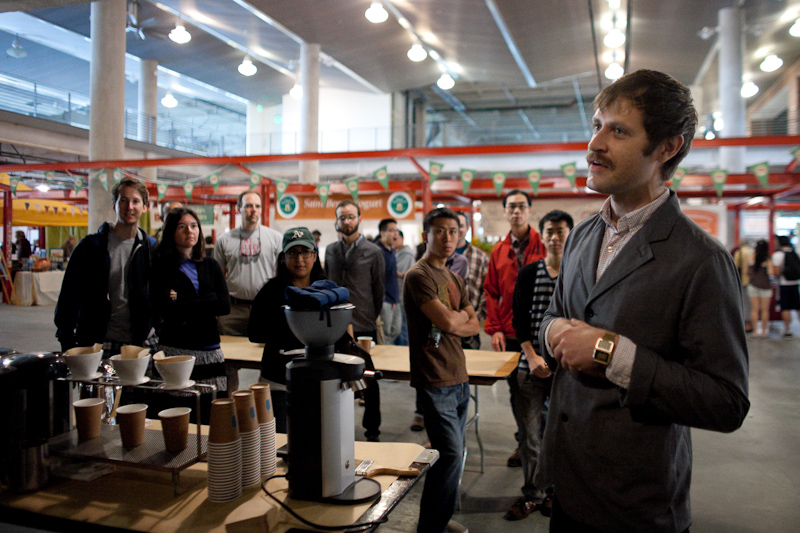
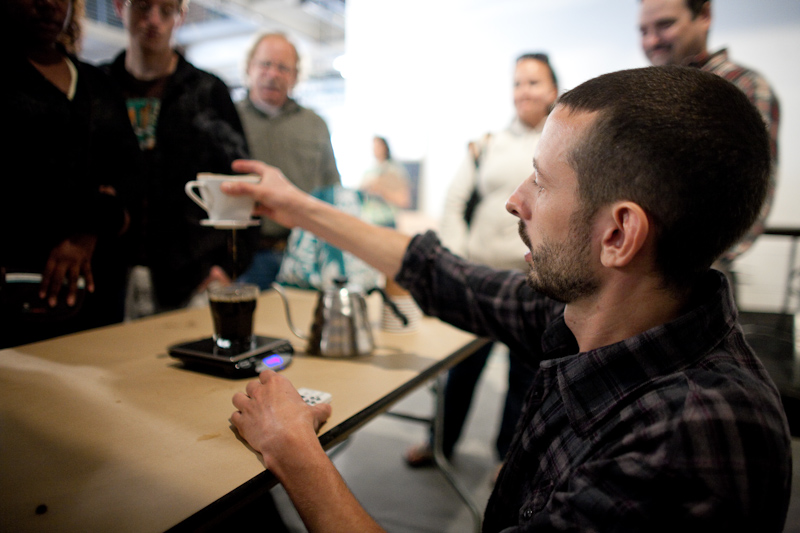
One of the first DIY activities was a coffee brewing workshop put on by the fine folks at Blue Bottle coffee, who roast their beans only a few blocks away.  4 of their training staff led a workshop on making coffee with paper filters and their Bonmac ceramic drippers.


 Benjamin Brewer started the talk by giving an overview of the process and continued to make key points as each of the other trainers demonstrated their drip-brewing processes.


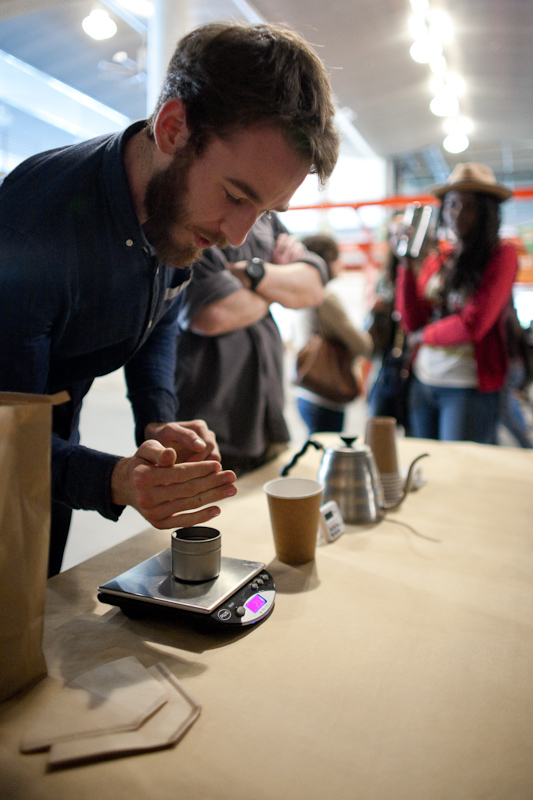
The coffee grounds were precisely weighed on digital scales to ensure a coffee to water ratio of 1:10 in the cup.  “In the cup” is a key phrase, Benjamin explained.  The coffee grounds absorb a fair amount of hot water and thus a little extra hot water needs to be added to the filter to achieve a 1:10 ratio in the cup.


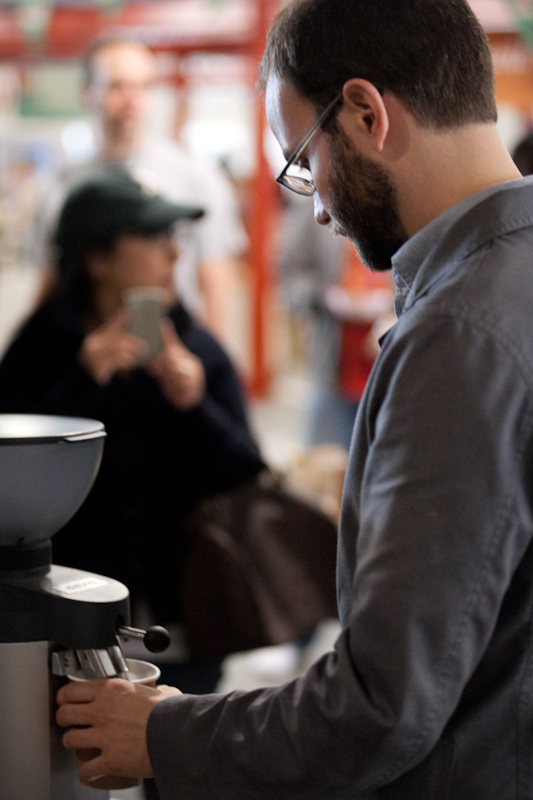
Benjamin emphasized freshness – the beans in the demo were only between 1-3 days old.  After the beans were weighed, the trainers took turns grinding them and bringing the grounds back to their table.


Hot water was poured in via goose-necked pitchers until the target weight was reached.  In the above photo, Brian demonstrated when to pull the dripper away before guiding attendees in brewing their own drip coffee.


I stepped outside after this workshop to make my way to the DIY Eat-it area, where Beauty’s Bagels were putting on a bagel workshop.

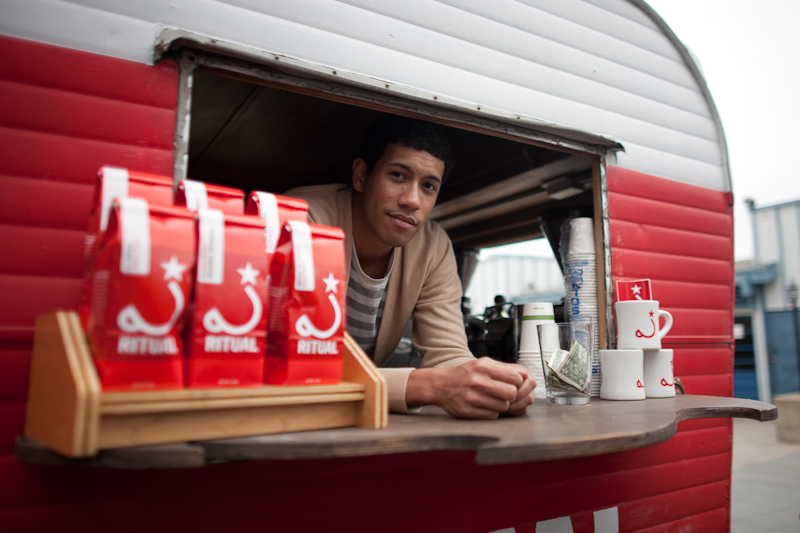
Third-wave coffee was well represented at the festival.  Ritual Roasters‘ always-photogenic coffee trailer, Sputnik was there once again.

 Bagel making with  Beauty’s Bagel

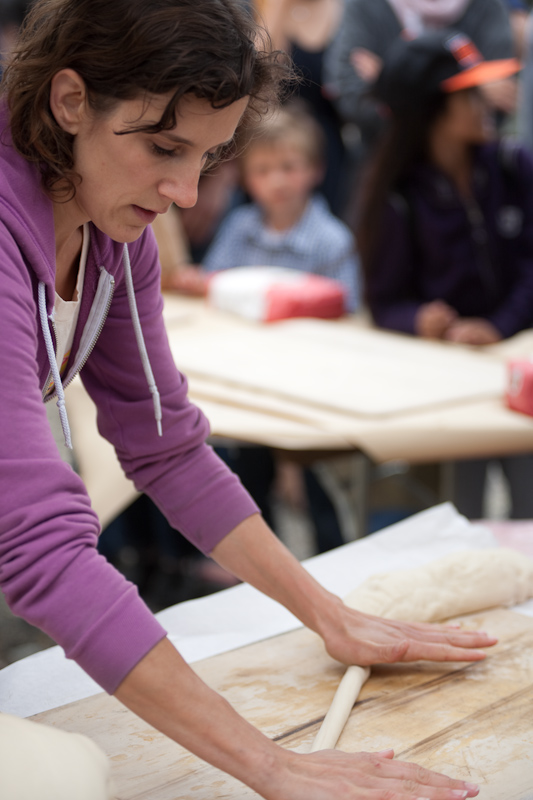
Oakland’s Beauty’s Bagel led a DIY workshop where they showed how to make their Montreal-style bagels.  They had premade and proofed the dough and workshop attendees floured up their hands and got to rolling their own bagels after watching a quick demo.

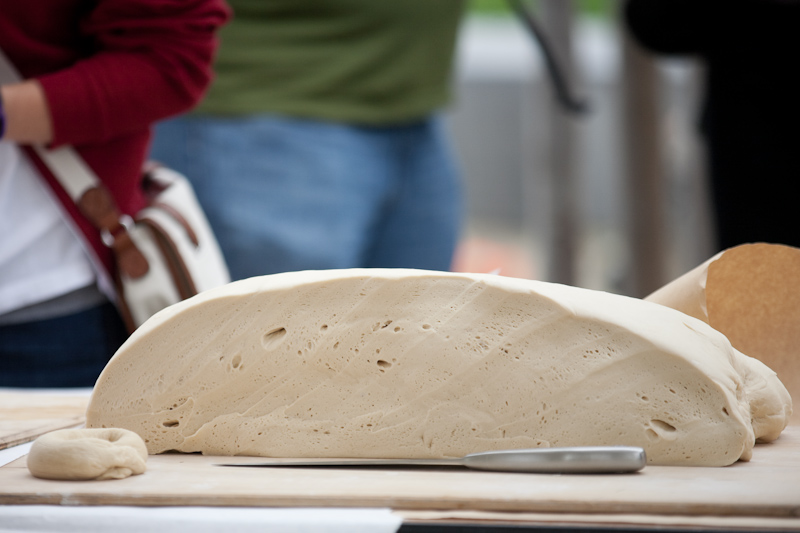
Here’s Blake Joffe cutting up the dough for the first demonstration.  They used King Arthur’s high gluten flour (14.2% protein content)  for maximum chewiness.


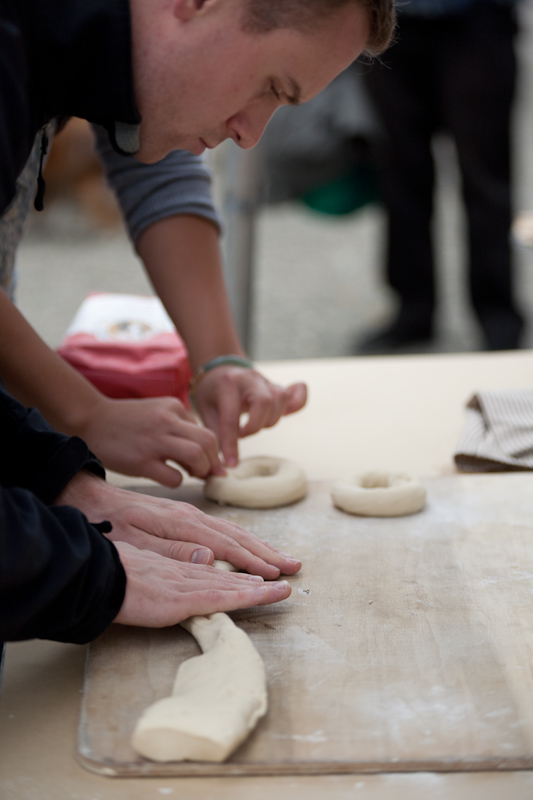
Some bagel recipes call for creating balls and poking holes through them to create their distinctive shape, but here Amy Remsen rolls them out and creates a loop.


Completed demo bagels.


After they created a few demo bagels, the audience members were invited to get involved and create their own.


Meanwhile, things were getting started with the wood-burning oven

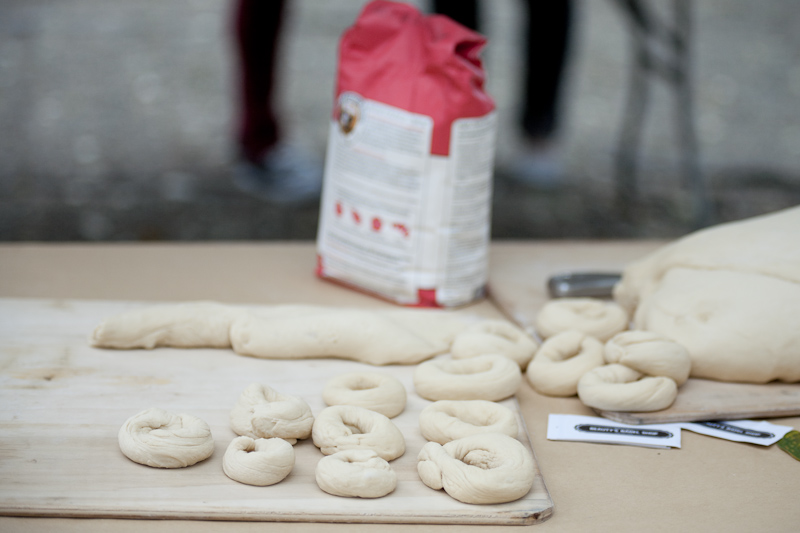
Various bagels rolled by various bagel-makers.  The bagels were then boiled in honey-water and thrown into the oven.


Homemade bagels, version 0.1 (not pretty)

There’s a shortage of good bagels in the San Francisco Bay area.   There are some places around like Spot and New York bagel (both carried at Berkeley Bowl.  The other bagels at Berkeley bowl feel like soft dinner rolls with holes in the middle.) and House of Bagels that serve decent one, but I decided to see if I could tackle the issue myself by baking some on my own.  I was also inspired by a talk by Noah Alper, founder of Noah’s Bagels (which no longer use his recipe and he is no longer a part of).  This post (and future ones?) will document my bagel-baking experiments.

I found a potentially good recipe and accompanying blog post  from the King Arthur Flour folks and went to work.

(Spoiler: the bagels did not turn out as bagels but they still tasted okay.  Versions 0.2 and 0.3 were much better)

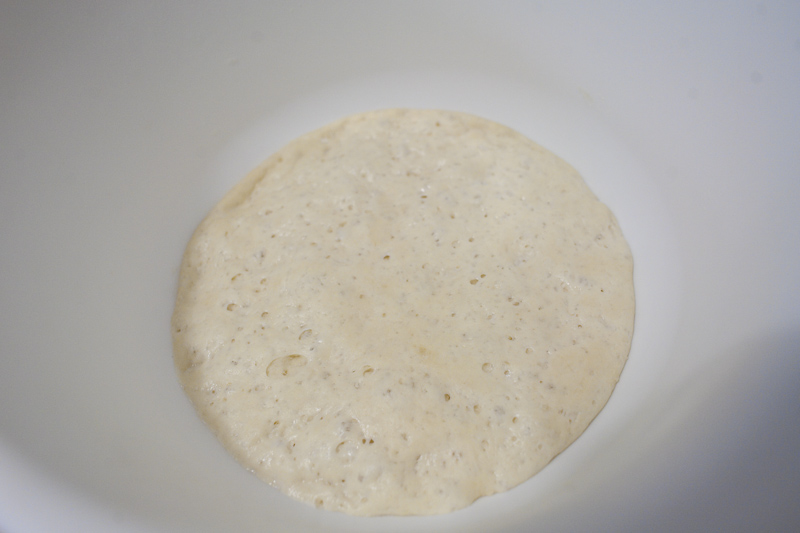
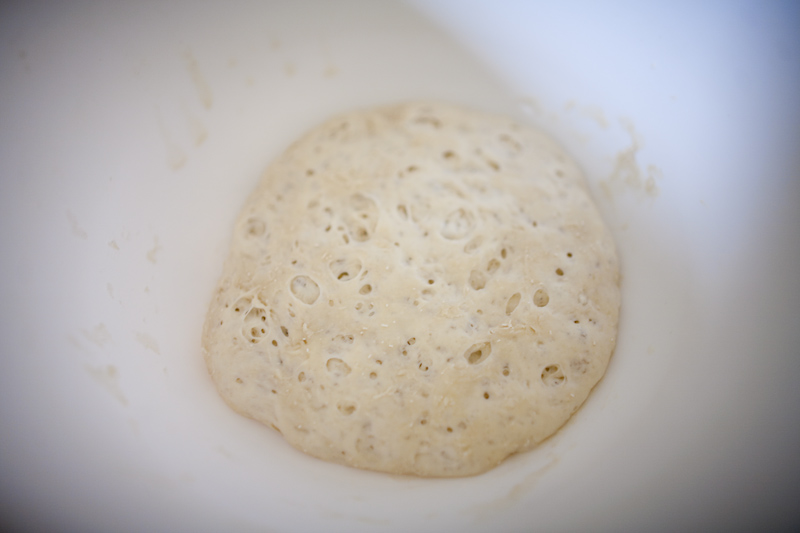
The recipe calls for creating a starter the night before.  Here it is after being given 14 hours to rise.  I didn’t notice this at the time, but my starter was much less watery than what shows up on the King Arthur website.  I don’t know why my starter looked so different – the recipe is really simple.  1 cup flour, 0.5 cups water, and 1/16tsp yeast.  Perhaps my bread flour was packed down too much and I ended up adding too much?

I also  made one change – I couldn’t find their high-protein, hard-wheat flour, so I used their bread flower.  I think it has a slightly lower protein content but I don’t think it made a big difference.
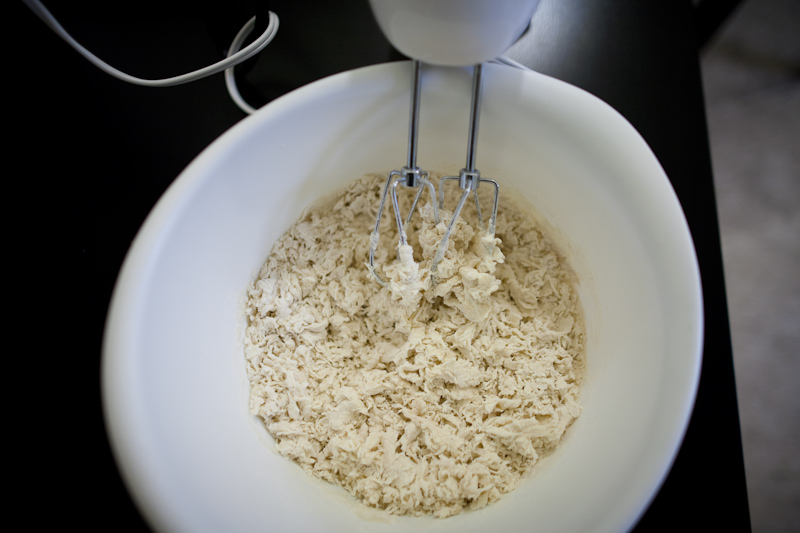


I took the starter and added the remaining dough ingredients – 1 cup of water, 2 tsp salt, 3.5 cups flour and 1.5 tsp yeast.  Once again, the dough was super-dry and hard to keep together.  It looked like spaetzle.
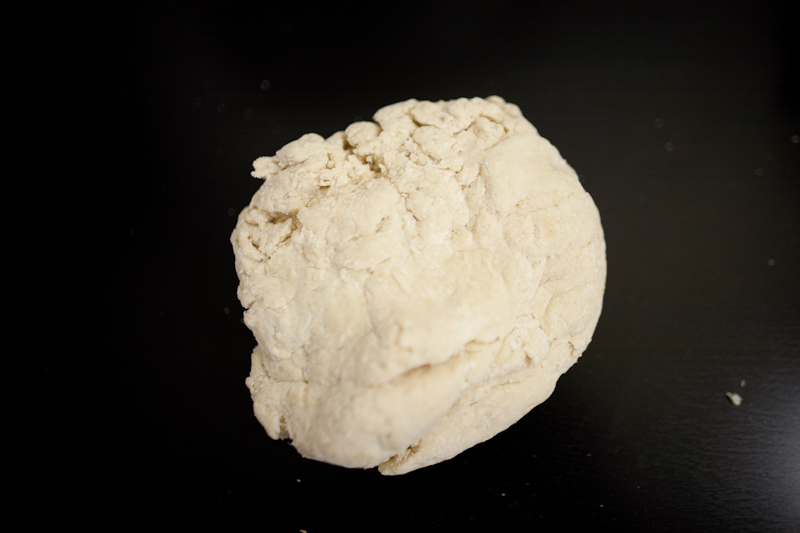


I tried kneading this dough.  It was crazy hard to knead.  I pushed down with all of my body weight to the point where my wrists started hurting and still had trouble making progress.   It was at this point that I decided that we definitely need a stand mixer.
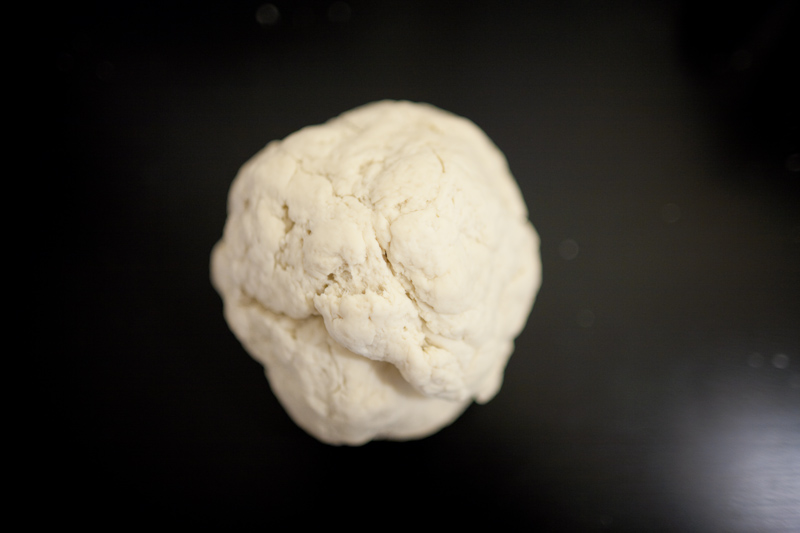


I spent about 20 minutes trying to knead the dough.  Here’s the dough ball.  It still looked much dryer than the pictures on the website.
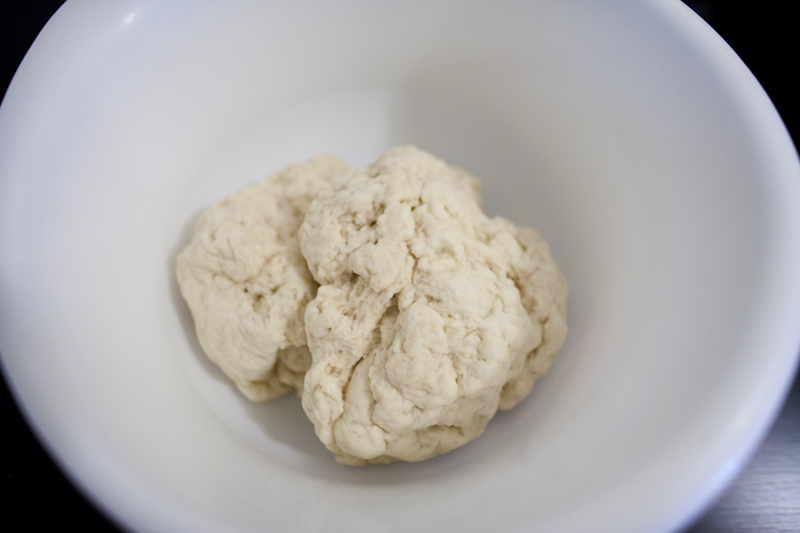


The recipe called for a 90 minute rise.  The dough rose a bit, but not very much.  It doesn’t at all match the photo in the recipe.  The dough was probably too dry for the CO2 produced by the yeast to make it expand.


Since the dough was so dry, it was hard to work the bagels and form them into smooth balls.. but I still tried.
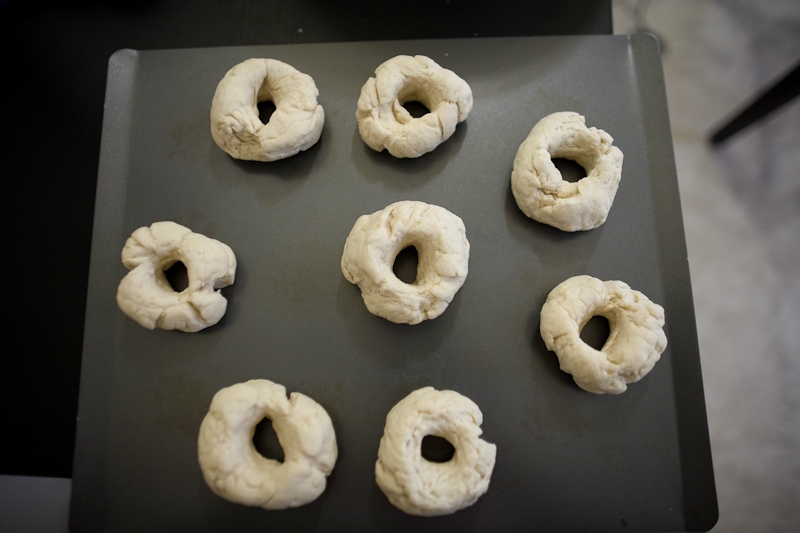


Here are the bagels ready for boiling/steaming.  I decided to try to steam the bagels but didn’t have a good steaming rack.  The recipe calls for using malt powder in the water to give the bagels a bit of a shine.  I didn’t have any, so I used brown sugar.  I tried to experiment with steaming times from 1 minute to 4 minutes but in the end it didn’t matter since the steaming was so ineffective.


Here are the bagels in the oven.  I topped them with salt and frozen garlic.  I found that it helped to use frozen minced garlic to prevent the garlic from burning too much during baking – the pieces start at a much lower temperature.
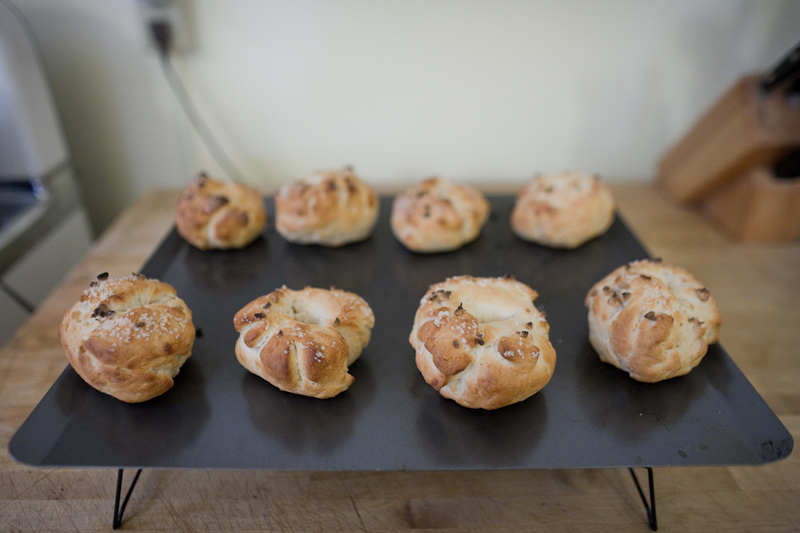


And here are the bagels after baking.  Not very bagely looking.  They also were probably in the oven a bit long.
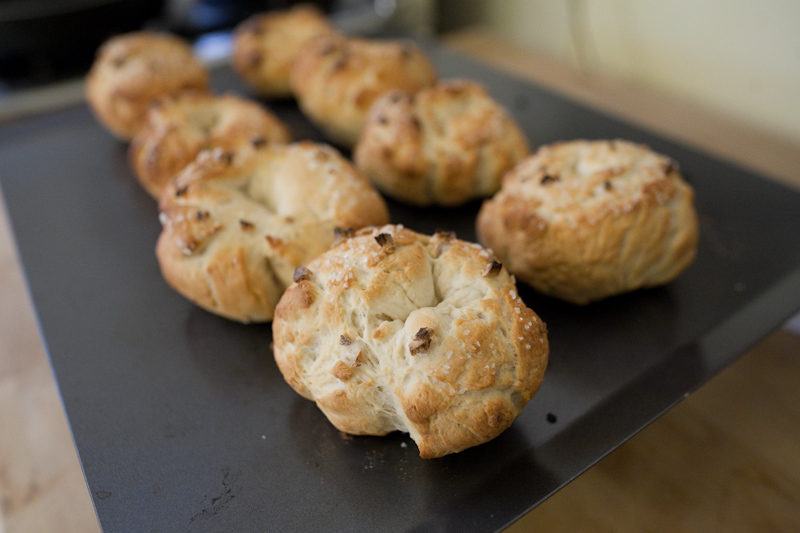


The crust was hard, thick,  and a little crispy.  This didn’t taste bad but it definitely did not taste like a bagel.  The crust resembled something between a hard pretzel and a soft pretzel.  They felt a little light and without the density of a bagel but this may have just been an illusion – since the crust was so damned hard, it made them feel kind of hollow.
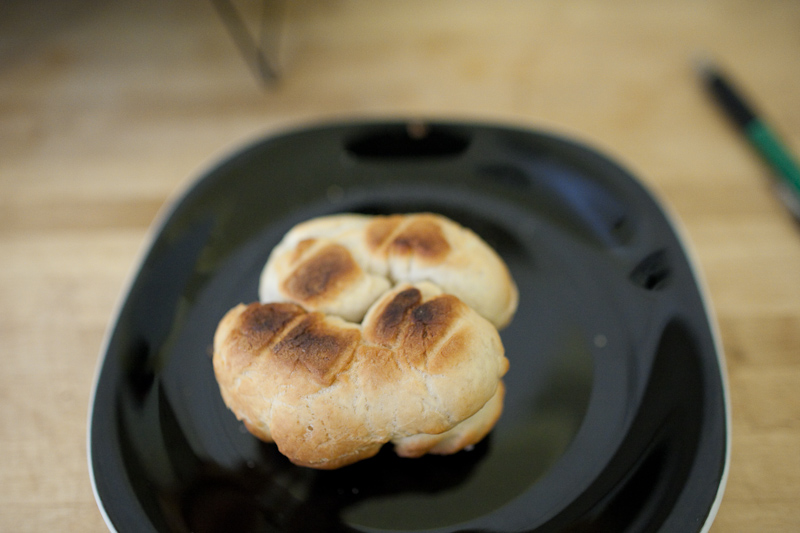


The bottom had burned a little bit.  A bit too much time in the oven.  Though they didn’t stick (too dry?) I decided to use cornmeal the next time just in case.
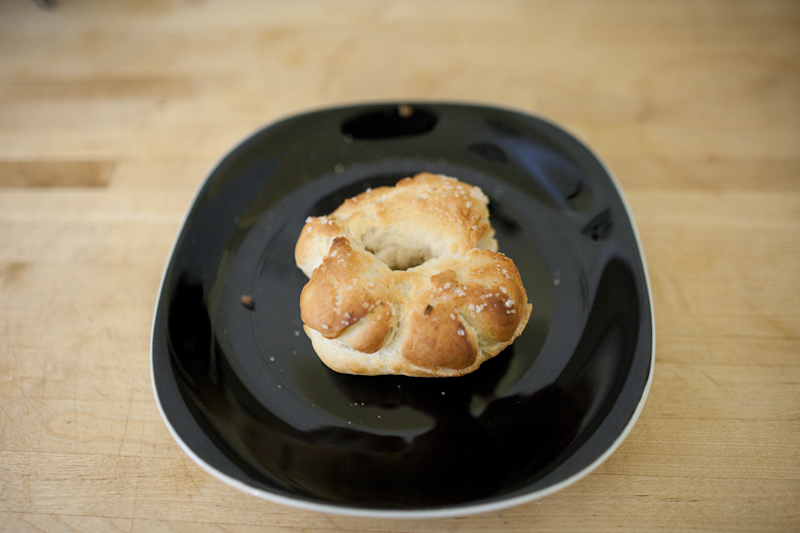


The “crumb” tasted pretty good though.


I started doing a lot of research after this.  I learned about hydration ratios and read up on what happens during all of the breadmaking steps and what each ingredient does.  I learned the reason why a bagel without gluten is a very sad bagel (sorry Mariposa!).  No gluten = no chewiness.  The Encyclopizza has an awesome amount of information related to pizza making and a lot of it carries over to other types of bread.  (Another plus – the author, John Correll is a cyclist as well!)  There was another good link that described the hydration ratios (amount of water/amount of flour in the recipe, aka “percent hydration”) in various types of bread which I lost in a tragic Firefox crash.  But apparently I should have been targeting about 55%-60% (by weight) for the bagels.  The way I made the recipe resulted in a hydration ratio of about 49%.
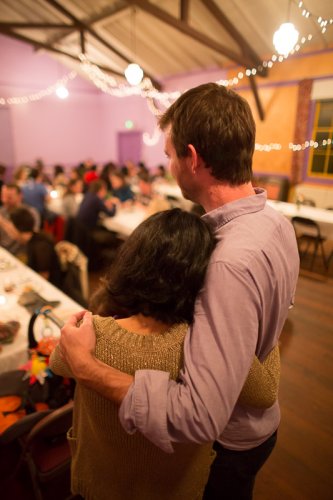
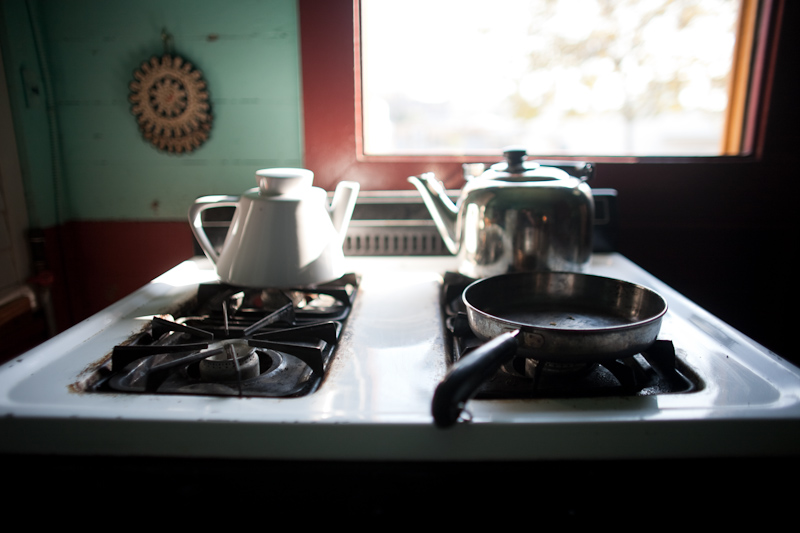
 

These bagels still ended up tasting good, but they didn’t taste like bagels.  For version 0.2, I decided to experiment with hydration ratios and had much better results.