
I made some tweaks after my last attempt at homemade bagels didn’t turn out as well as I had liked. I figured that there wasn’t the right proportion of water in the last batch. The dough was too dry, which made it nearly impossible to work with, leading to lumpy bagels. I also had probably baked them for a little too long. This time, I set out to try the same King Arthur recipe again with a few changes:
-I split the dough into two batches, with two different hydration ratios
-I boiled the bagels instead of trying to steam them
-I baked for less time
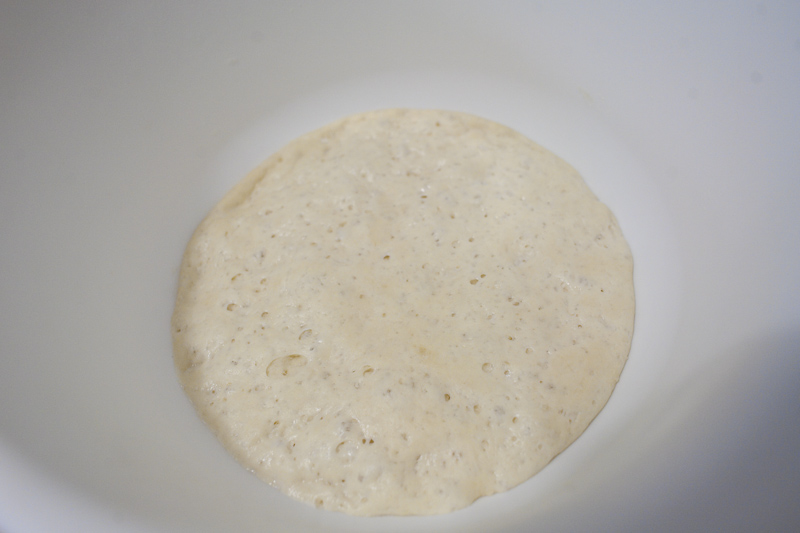 I didn’t adjust the starter recipe, but it looks less dry this time. The difference is probably due to the fact that I still measured flour by volume rather than weight. It may also have been a bit warmer.
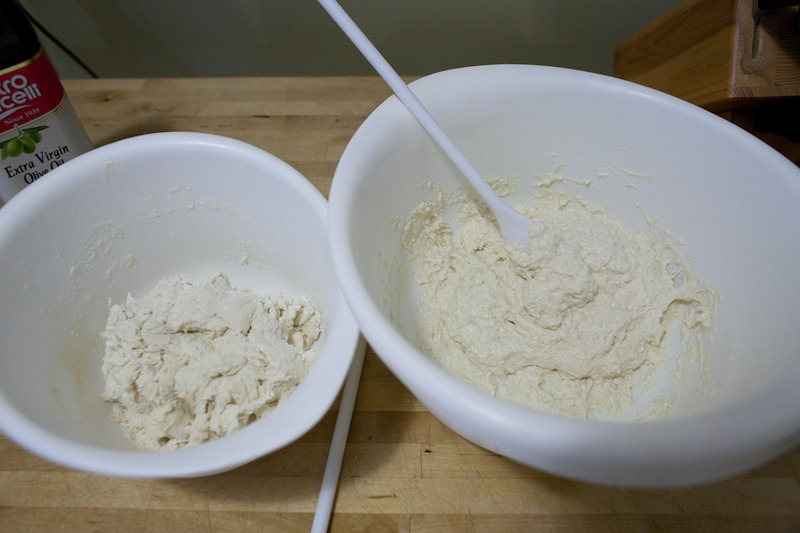 I decided to aim for a target hydration ratios (amount of water/amount of flour) of 40% (left) and 60% (right). I think I did some math wrong and ended up with ratios of 38% and 51%. I didn’t know at the time that I think most hydration ratios cited in other sources are by weight. By weight, the dough had ratios of 56% (right in bagel territory) and 76% (higher than ciabatta territory!).
The dough on the left started a little scraggly but came together pretty quickly. The dough on the right was sticky and stayed that way.
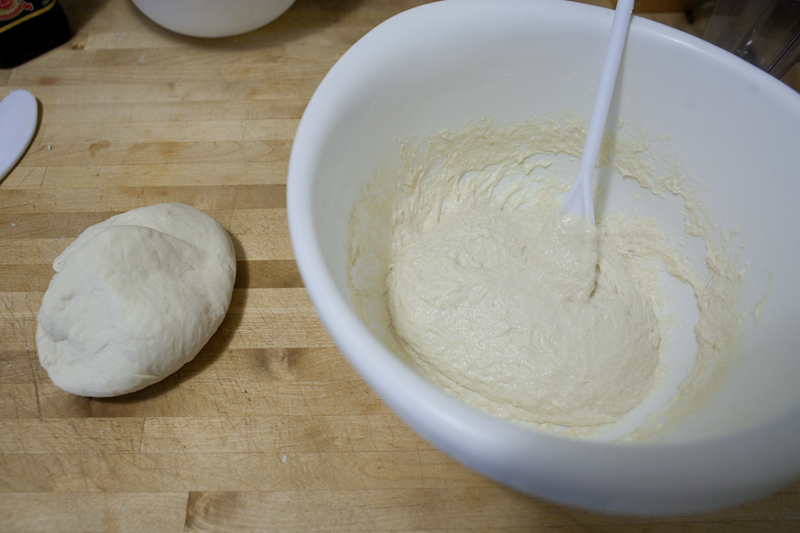 Here’s a shot of the doughs partially kneaded. The dough on the left was stiff but workable. The dough on the right was still sticky. I could not knead it by hand.
 It looked more capable of making bagels.
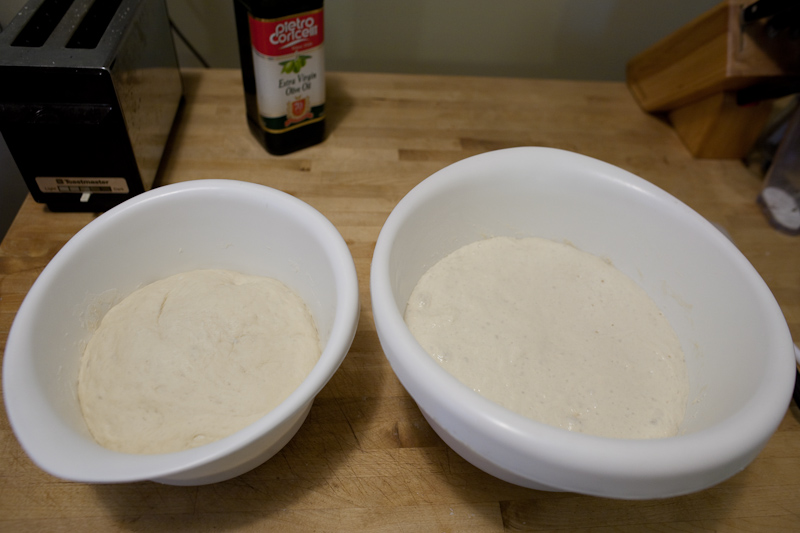 Here’s a photo of the doughs after a 90 minute rise. The dough on the right looks like oobleck.
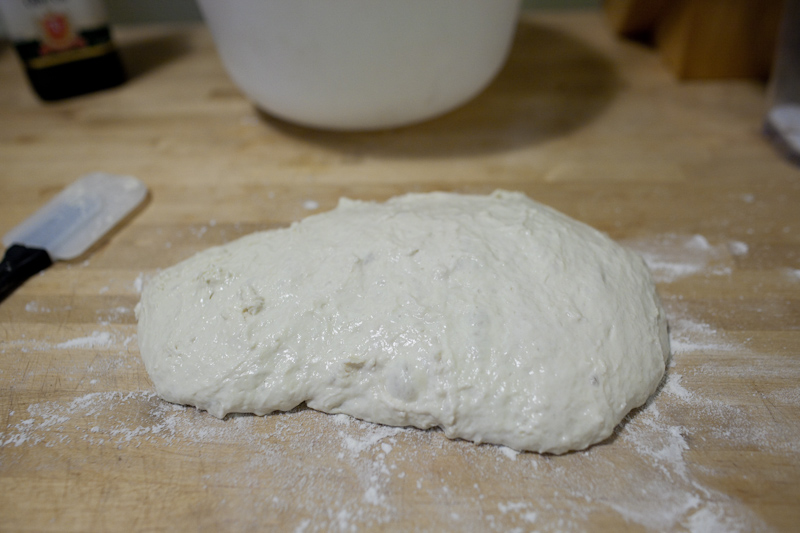 I had to add a lot of flour to even be able to work the wet dough.
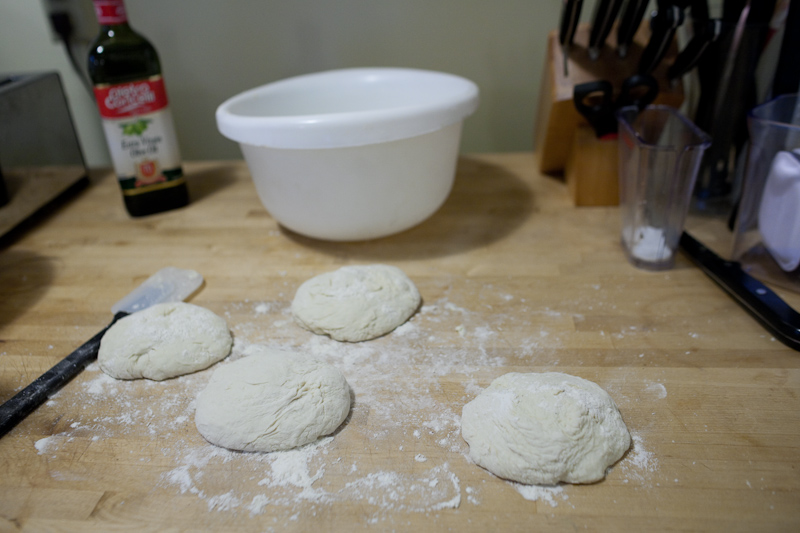 I tried shaping the dough into bagel balls, but it just wasn’t possible. They did look very capable of a pizza dough, though!
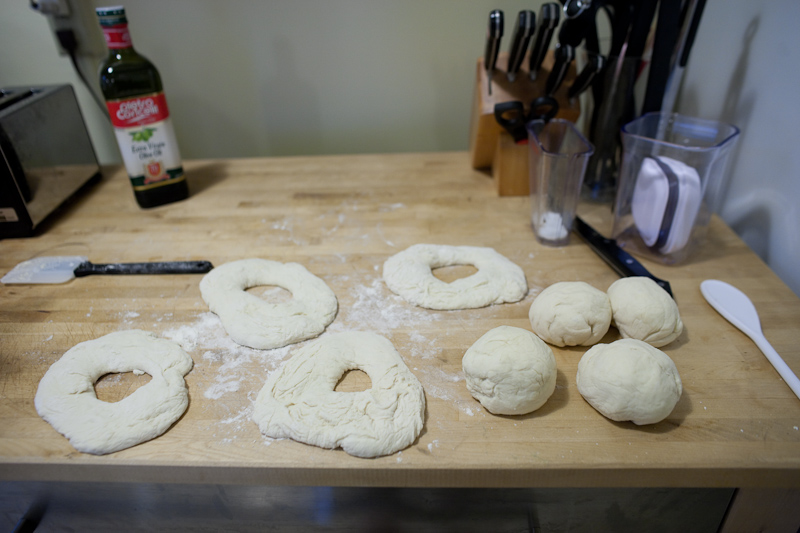 The drier dough (now on the right hand side) was much easier to shape.
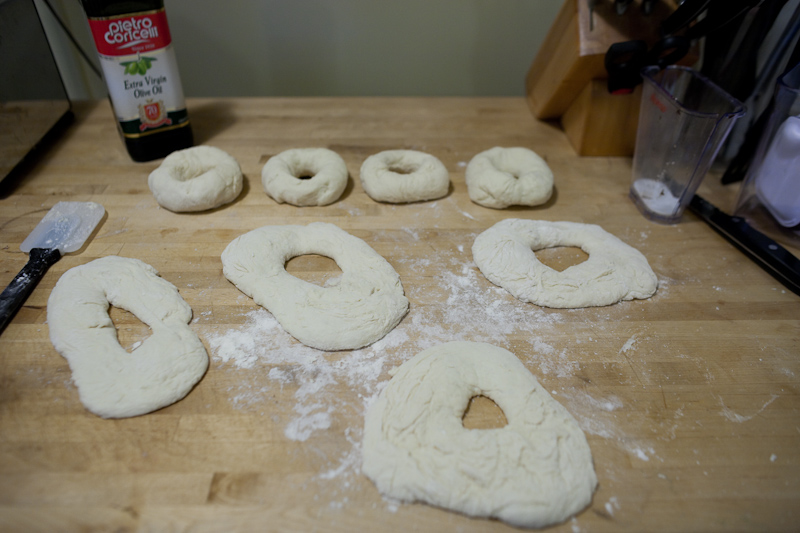 I had to add a ton of flour to have these guys not stick to my hands or the counter.
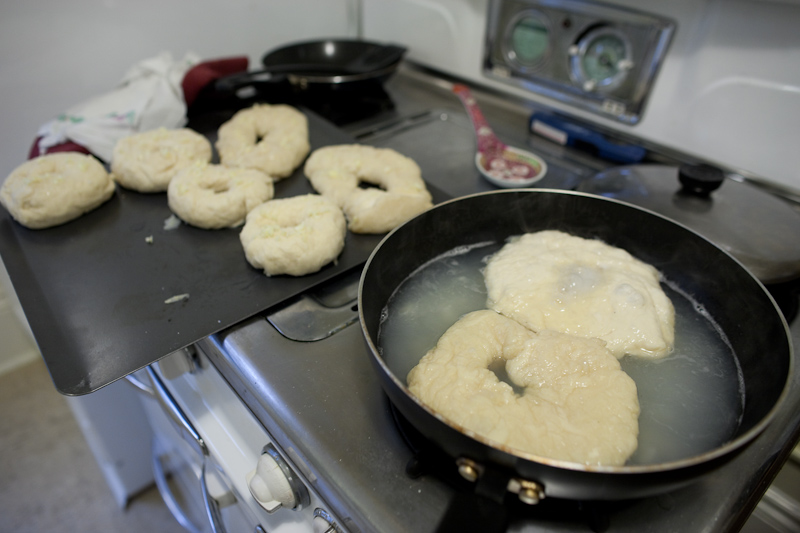 Boiling went okay. I used regular sugar instead of brown sugar or malt powder, which wasn’t that great of a move. The goopy and floppy wet bagels ended up absorbing a lot of the sugar and had too sweet of a taste to them in the end. They kind of reminded me of dumplings. The drier bagels still had some wrinkles but were a lot smoother than the last batch I made.
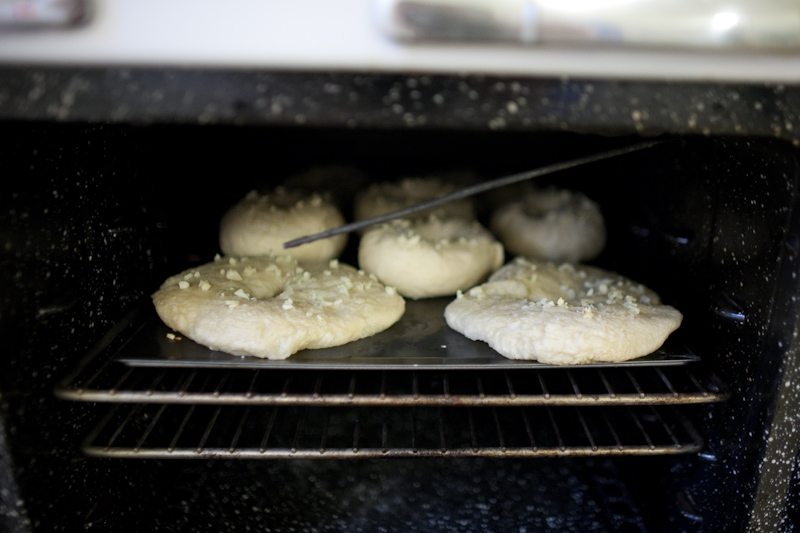 Once again, I coated them all in garlic and sea salt.
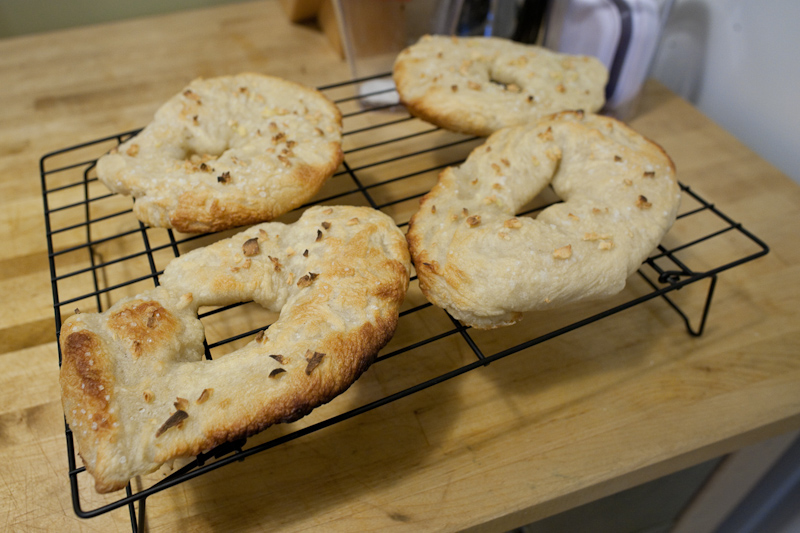
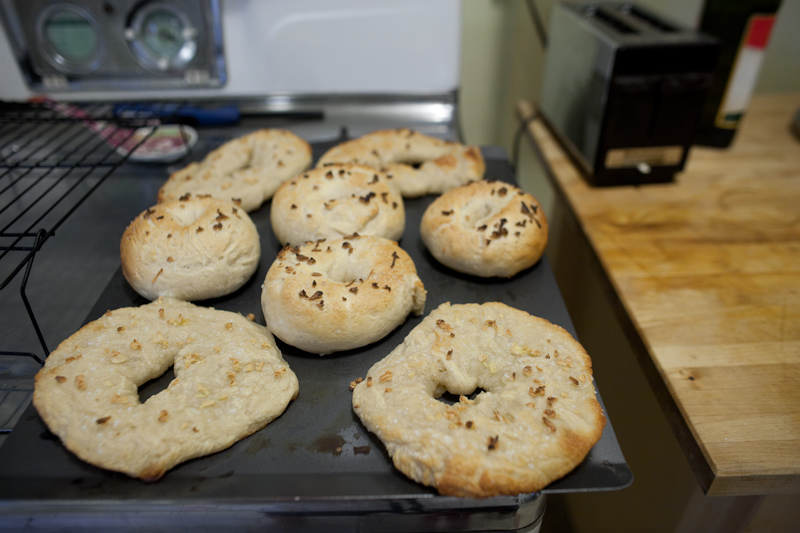 Bagels, baked. The “wet” ones really reminded me of pizza.
 Here’s the batch from the drier dough. I thought they looked pretty great! They felt good too – the last batch had a bit of a hollow, hardened feel to them. These felt softer and.. bagely. The crust was still a bit hard but not too hard. Note that the garlic is slightly burnt – which is fine with me. I think I started with frozen garlic chunks to slow their baking/burning process down a bit so that they weren’t completely charred at the end.
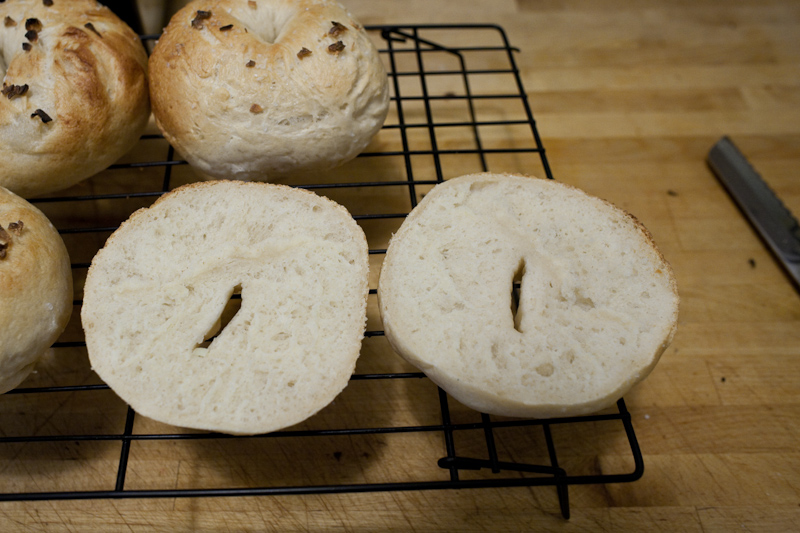 Here’s a good bagel, cut open. Just a little bit fluffy and chewy.
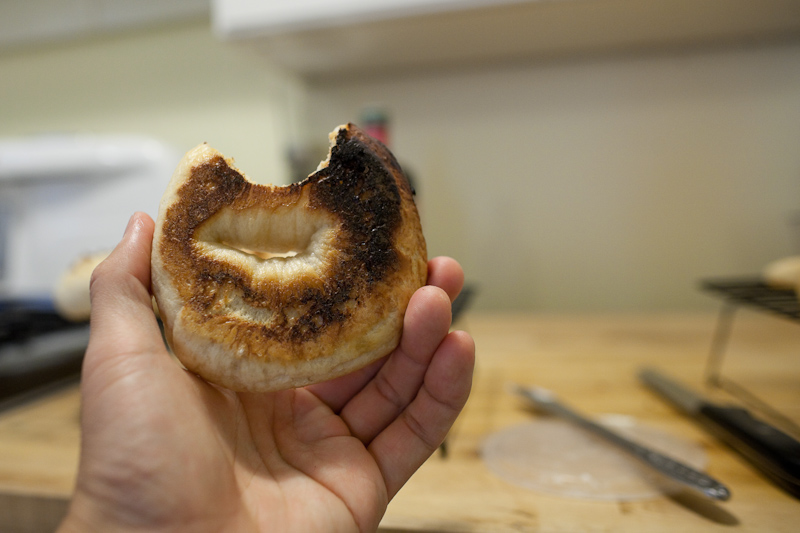 I burned the bottom a bit, and they stuck a bit. I should have applied cornmeal more liberally.
I didn’t bother taking pictures of the “wet dough” bagels, but they tasted okay – like a super chewy pizza crust. One or two of them were a little too doughy inside maybe because they took on too much additional water in the boiling process. I wasn’t too unhappy though – I ended using the higher hydration recipe for pizza dough. More to come in Part 3!





Hey! Those dried dough bagels look awesome. In the future, use parchment paper on the baking pans and dust that with semolina (Or cornmeal if you prefer) the parchment keeps things from browning too much.
GREAT Job!
Thanks, David! I will definitely try that for the next batch.