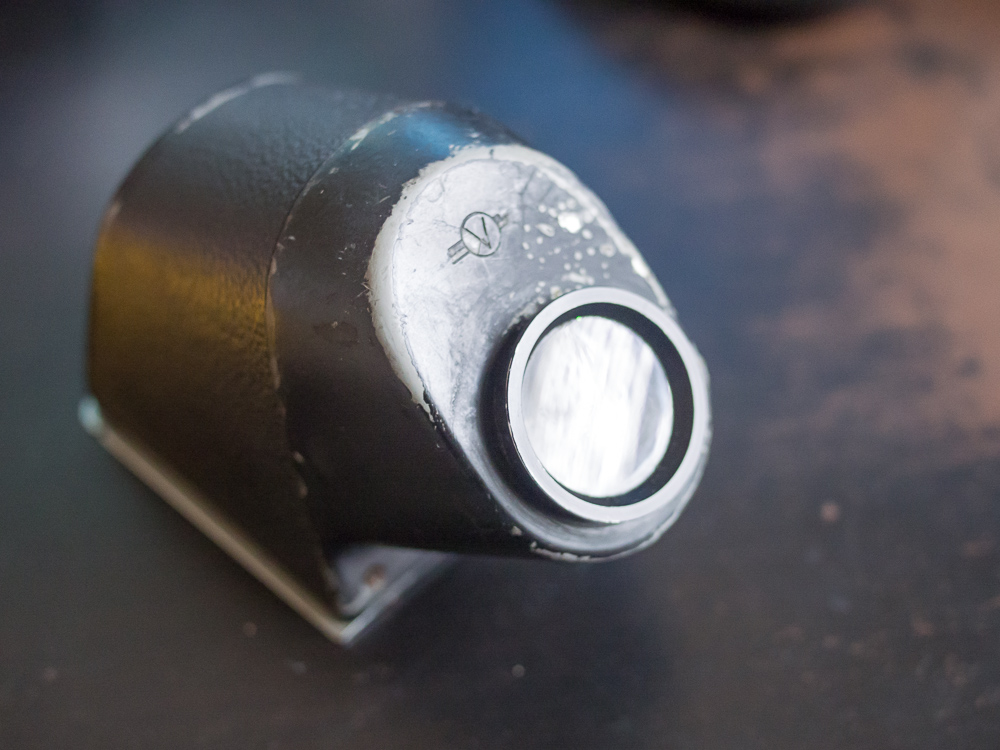
I tried taking apart the NC-2 prism finder for my Hasselblad 500c. It’s dark and covered with fungus or haze, and I wanted to clean it.

I was ultimately unsuccessful, but if anyone else is attempting this, I wanted to share what I’ve learned so far so that you are not starting from scratch. You can learn from my mistakes and hopefully help me figure out if it’s possible to get in there and clean it.
Screws
Here’s what I found:
- 2 screws on eyecup side (IMPORTANT!)
- 2 screws on the opposite side (front of camera, probably not as important)
- A ton of screws on the bottom, 8, I think?
- 2 screws under the leatherette (VERY IMPORTANT)
Getting the prism out
The front of the viewfinder is really only attached by 4 screws. Remove the bottom two under the eyecup.
I suspected that there were some under the leatherette (there are) but I didn’t want to peel it off. Not knowing any better, I removed all other screws that I could find. This includes the 2 on the side opposite the eyecup and the 8 or so screws on the bottom.
The bottom
I don’t think it was necessary to remove the steel plate. You need to be careful when disassembling, because there are 2 ball bearings and 2 springs that can pop out if you’re not careful once you remove the plate.
Back to the eyecup side
After I removed the bottom two screws on the eyecup side, I saw that a gap had opened, so I tried to pry the piece off. There is a little bit of glue holding it in place and I figured that the top part had a tab to hold it in place. It turns out there are 2 screws under the leatherette, and by mistake I sheared one of the screws while trying to pry the piece off.
If you’re trying to do what I did, just peel off the leatherette to get access to the two screws on top. I had feared that the leatherette would fall apart, but it stayed completely intact.
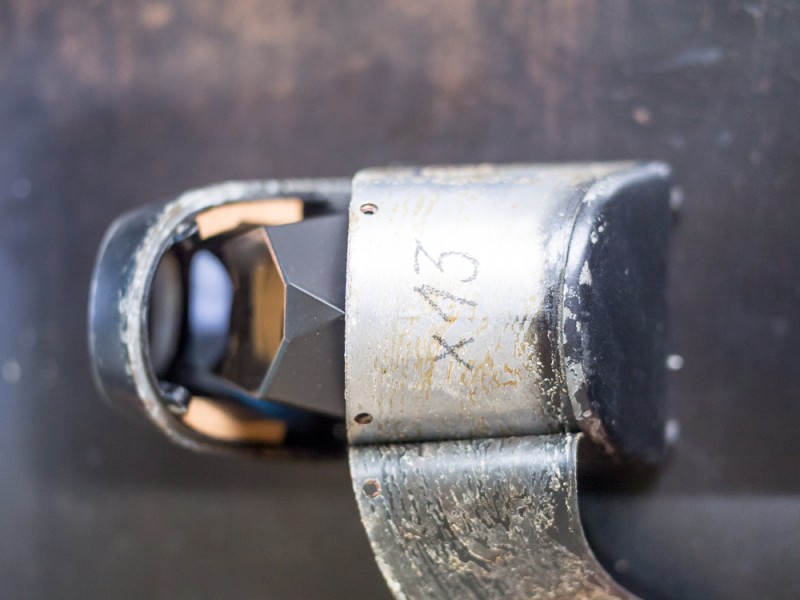
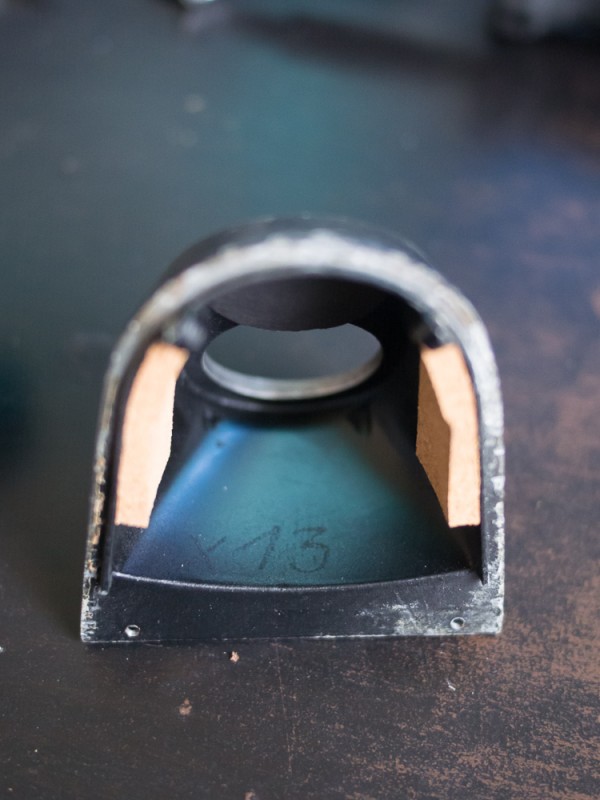
Both the eyecup-piece and the rest of the finder had “x13” marked or etched by hand. There are cork pieces to ensure a tight fit.
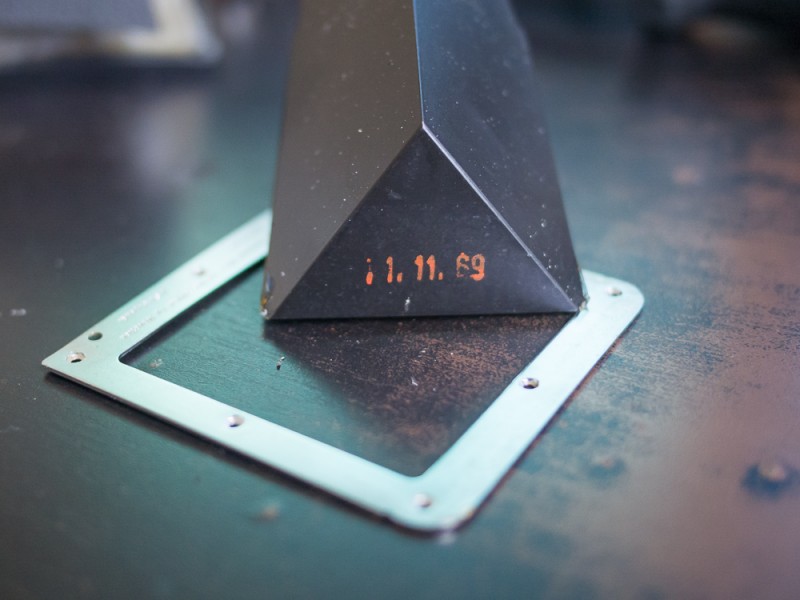
The prism appears to be marked “11.11.69”. I didn’t take a photo, but the finder body appeared to be marked “17 Dez 1969” (or was it just “Dec”?)
Here’s a photo of the prism that was removed and the haze in all its glory:
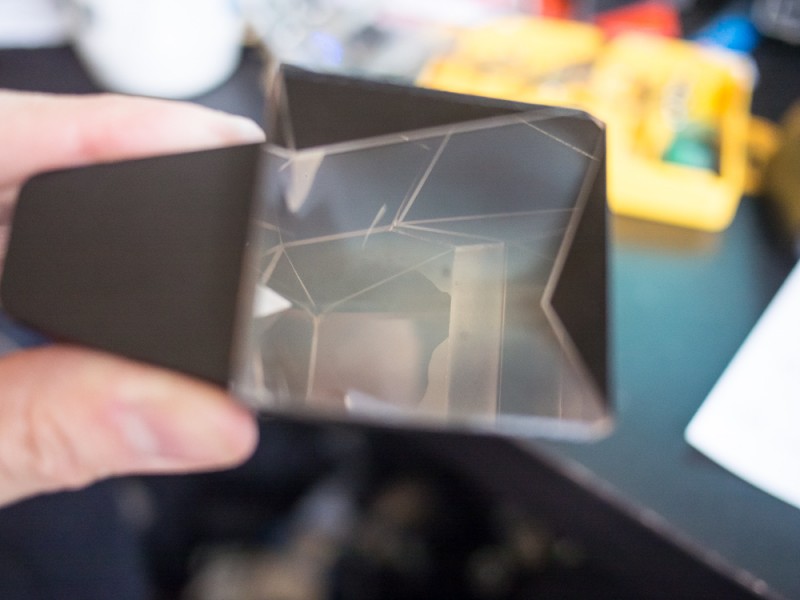
I couldn’t get the prism apart. The underside of the prism has 2 pieces of tape on the edges. I removed the tape. Then I tried to put a suction cup onto it and pull out that piece, but it didn’t budge. I guess it’s glued in there pretty well?
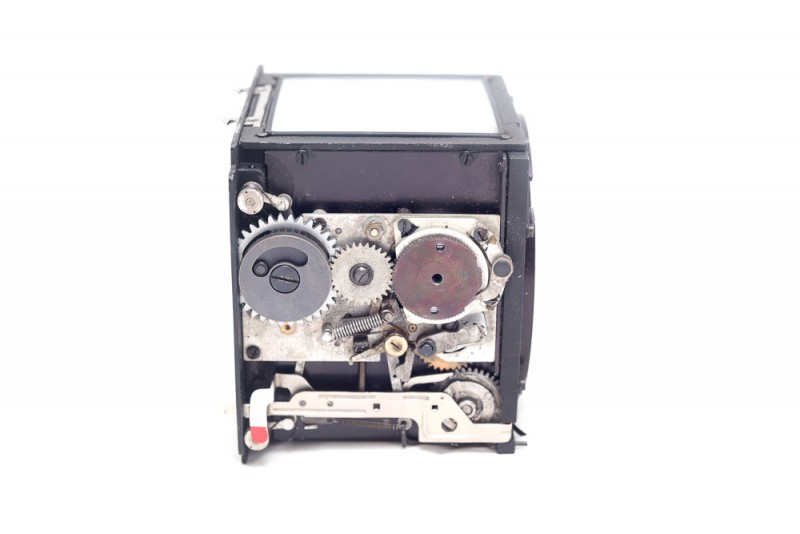
As for the body..
I had also taken apart the 500C body a little while back because it was jammed and things didn’t appear to be moving the way they should.
I had a bit of help, luckily this guy appears to have successfully done the job. His instructions are good, so I’ll just add my comments:
- Definitely watch out for the Teflon lens piece behind the lens release button
- That spiral torsion spring that closes the auxiliary shutter is REALLY HARD to put back in. That thing still gives me nightmares. And my fingertips hurt.
- Watch out for the mirror pre-release button when you’re sliding the assembly back into the body shell. You may need to lift up one of the brass levers before you push the assembly back in all the way.